Journal

Denise's Mink Coat Transformed into a Throw & Two Bolster Pillows

See Video Here: Denise's Fur Transformation

Denise sent in a beautiful black mink coat. The coat was well made and was in excellent condition. She wanted to make a throw as well as two bolster pillows. The bolster pillows were made from the sleeves. The original lining and monogram was used for the backing.

Final throw measurement: 44 by 52. 

Final measurement for Bolster pillows: 6 inches in diameter and 18 inches in length.


Pam's Beautiful Black Mink Coat Transformation

Watch the video here: Pam's Mink Coat Transformation

Pam’s fur coat was wonderful to work with! Well maintained and so soft too. She wanted to use her own lining from her fur coat. Watch how I make the lining here: How I Make My Custom Linings

Josephine's Lovely Furs

See Video Here

This project consisted of a light tan mink coat, a dark brown knee length mink jacket, a striped tan mink vest with a leather backing, and one white mink sweater. The customer originally wanted two throws exactly the same. The throws would be given to family members. We tried a variation with all the furs together, and we opted to keep the dark brown mink with the light striped mink Together and the tan/light brown mink with the white mink border. There was enough leftover fur that we were able to make one 16 by 16 pillow and one14 by 14 pillow. I was able to use the leather from the striped mink vest to form the back of the larger pillow. I was also able to use the lining to form the back of the smaller pillow. Each pillow incorporated a monogram from the original jackets. The white mink was very delicate. It was obvious from when I removed the lining, it was repaired before. There were quite a number of patch work areas on the inside of the sweater. I used cold cloth to help support the white mink.

Five Beautiful Repurposed Furs Coats

Watch the video here: Five Beautiful Repurposed Furs Coats

The customer sent me 5 fur coats that belonged to her grandmother. Each one of the coats will be transformed into a throw and given to different family members. There were four minks and one rabbit coat. The biggest challenge was trying to remove a very bad musty odor from the furs. I am so happy that I could create these wonderful family heirlooms.

Lovely Beaver Coat Transformed into a Beaver Throw

See the video here: Beaver Coat to a Beaver Throw

The customer wanted her Beaver coat transformed into a throw. The fur was in wonderful condition. It had a lovely fox collar, but the collar was very small and short. It would have been very difficult to incorporate it in the border of the throw, so we opted not to use it. It measures 45 by 55.

Mink Coat Transformed Into A Throw With A Lovely Chevron Pattern.

See the video here: Mink Coat Transformed Into A Throw With A Lovely Chevron Pattern.

This mink coat was unique, due to the Chevron pattern on the bottom of coat. The customer was given two choices on how the chevrons could be placed in her throw. She chose the triangular pieces to go in the corners of the throw. Her coat was in excellent shape and the mink was just lovely to work with. Overall size was 42 by 54.

Making a Queen/King Size Fur Blanket.

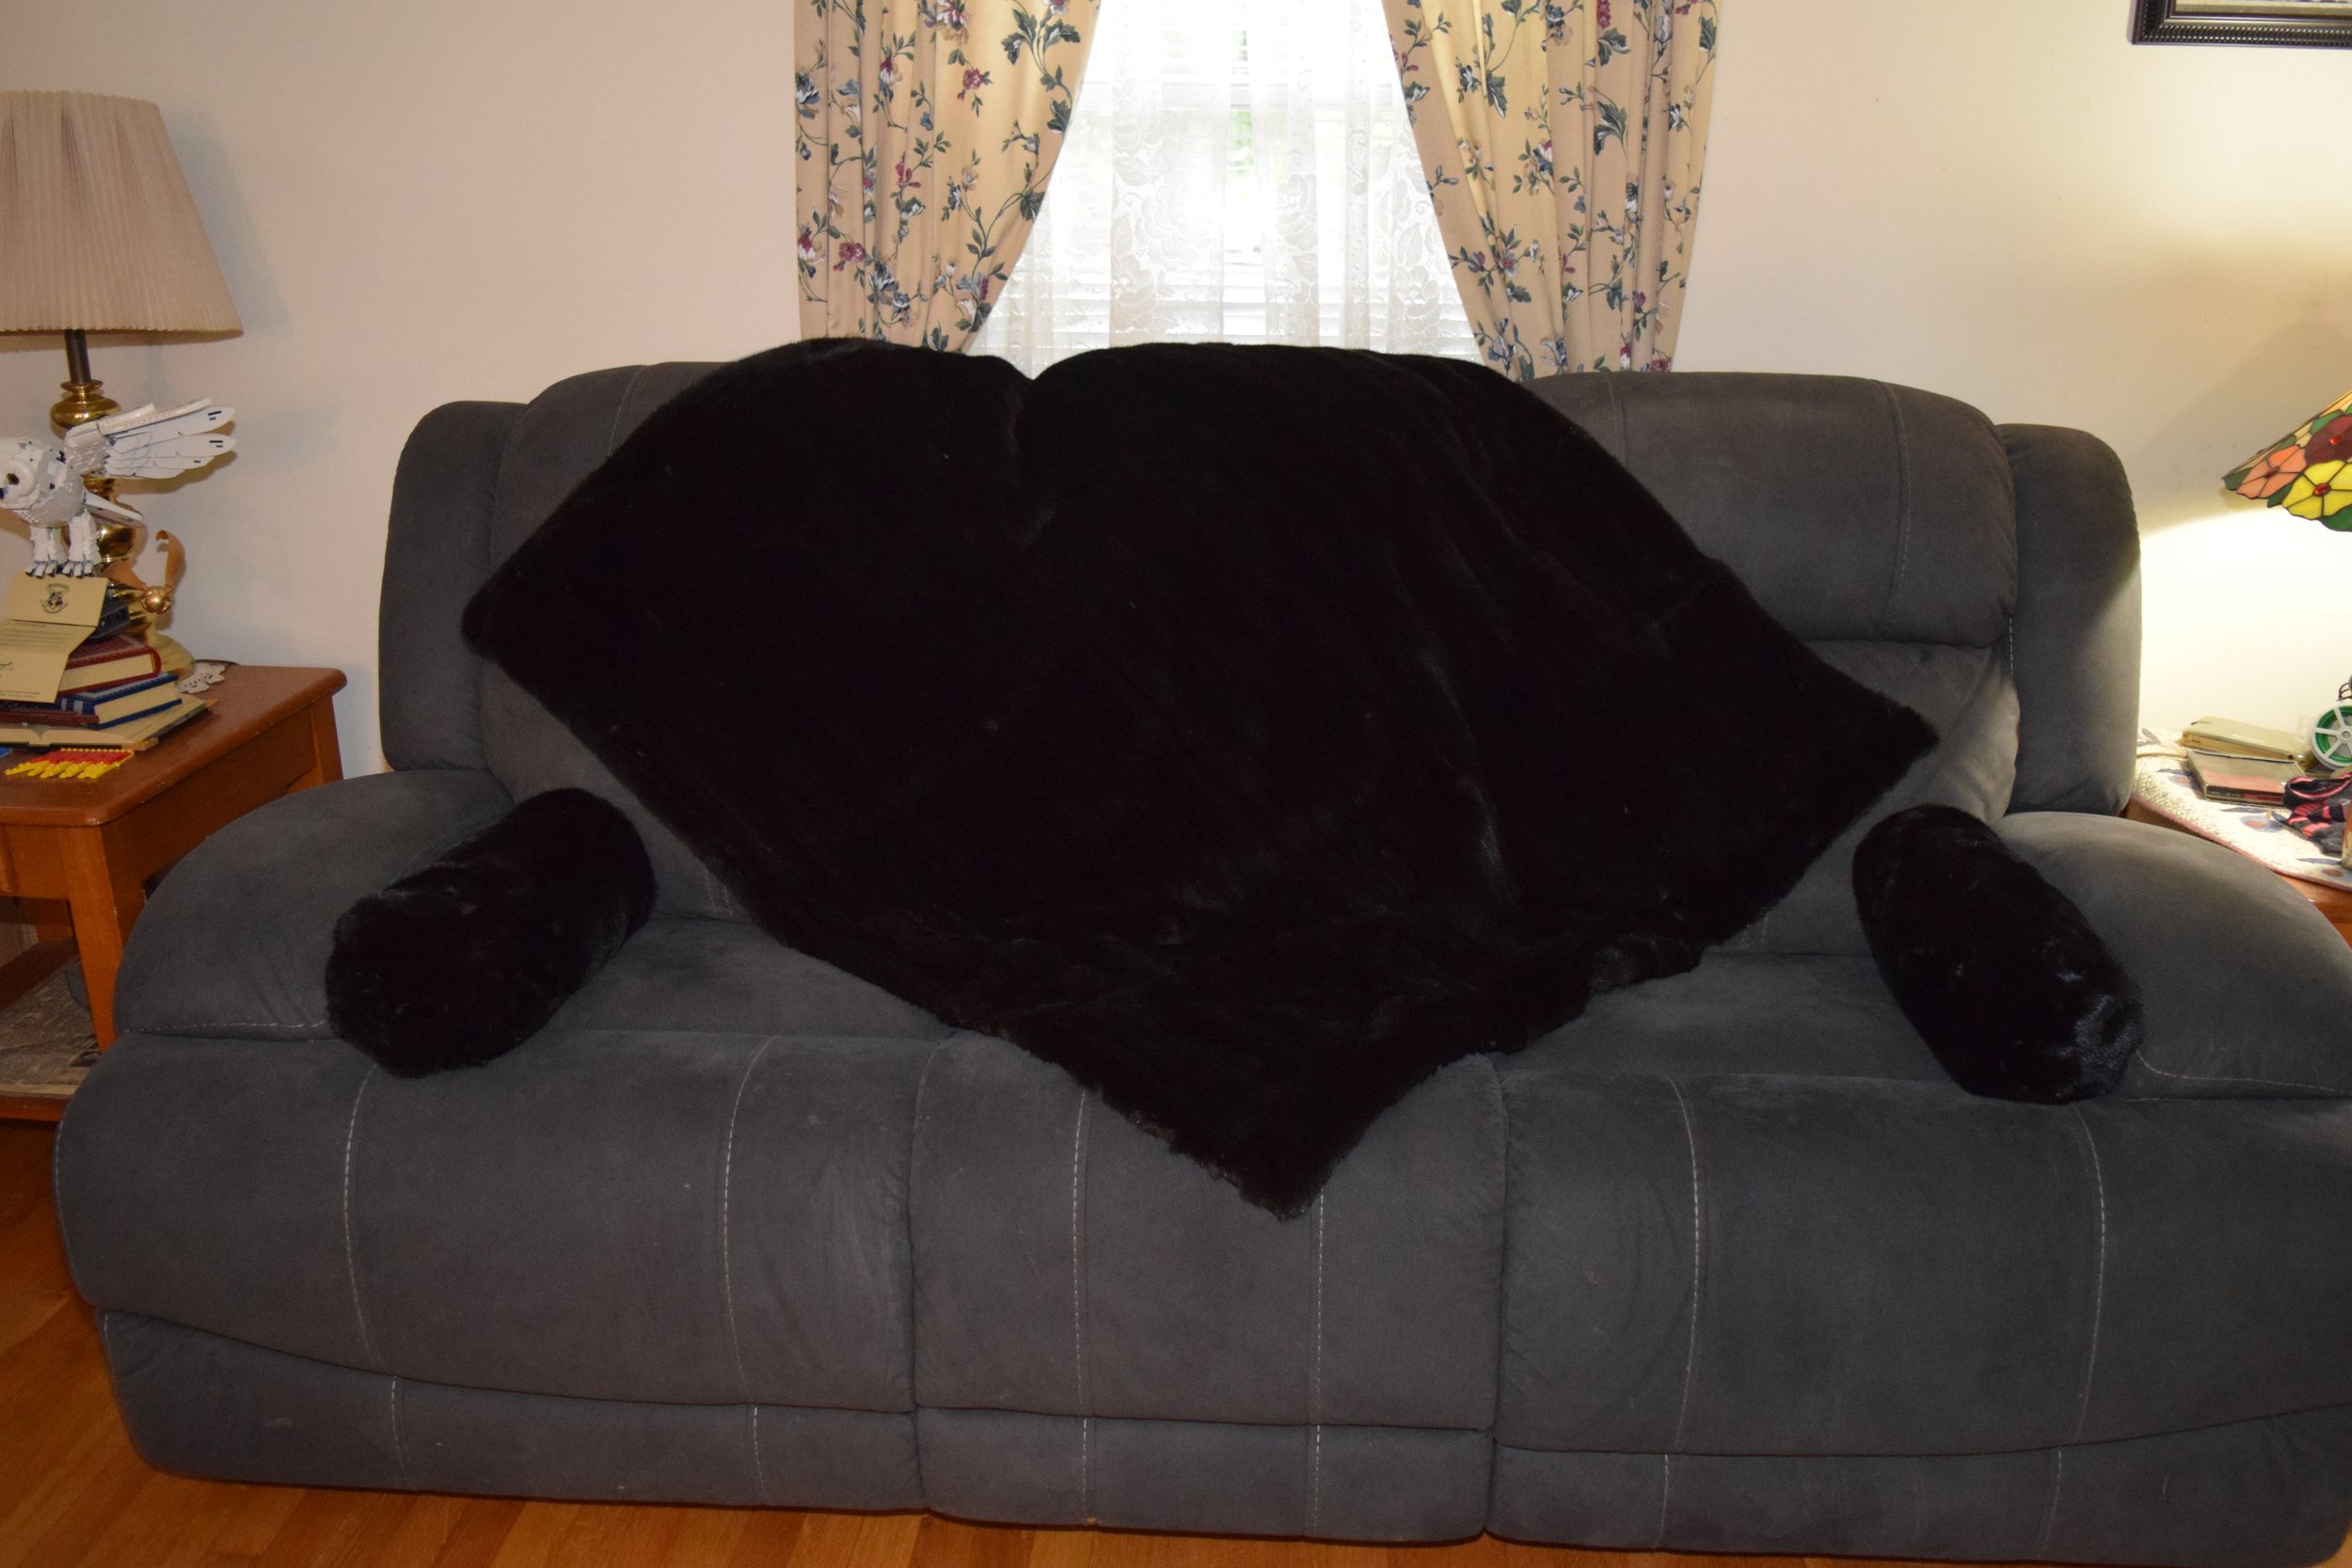
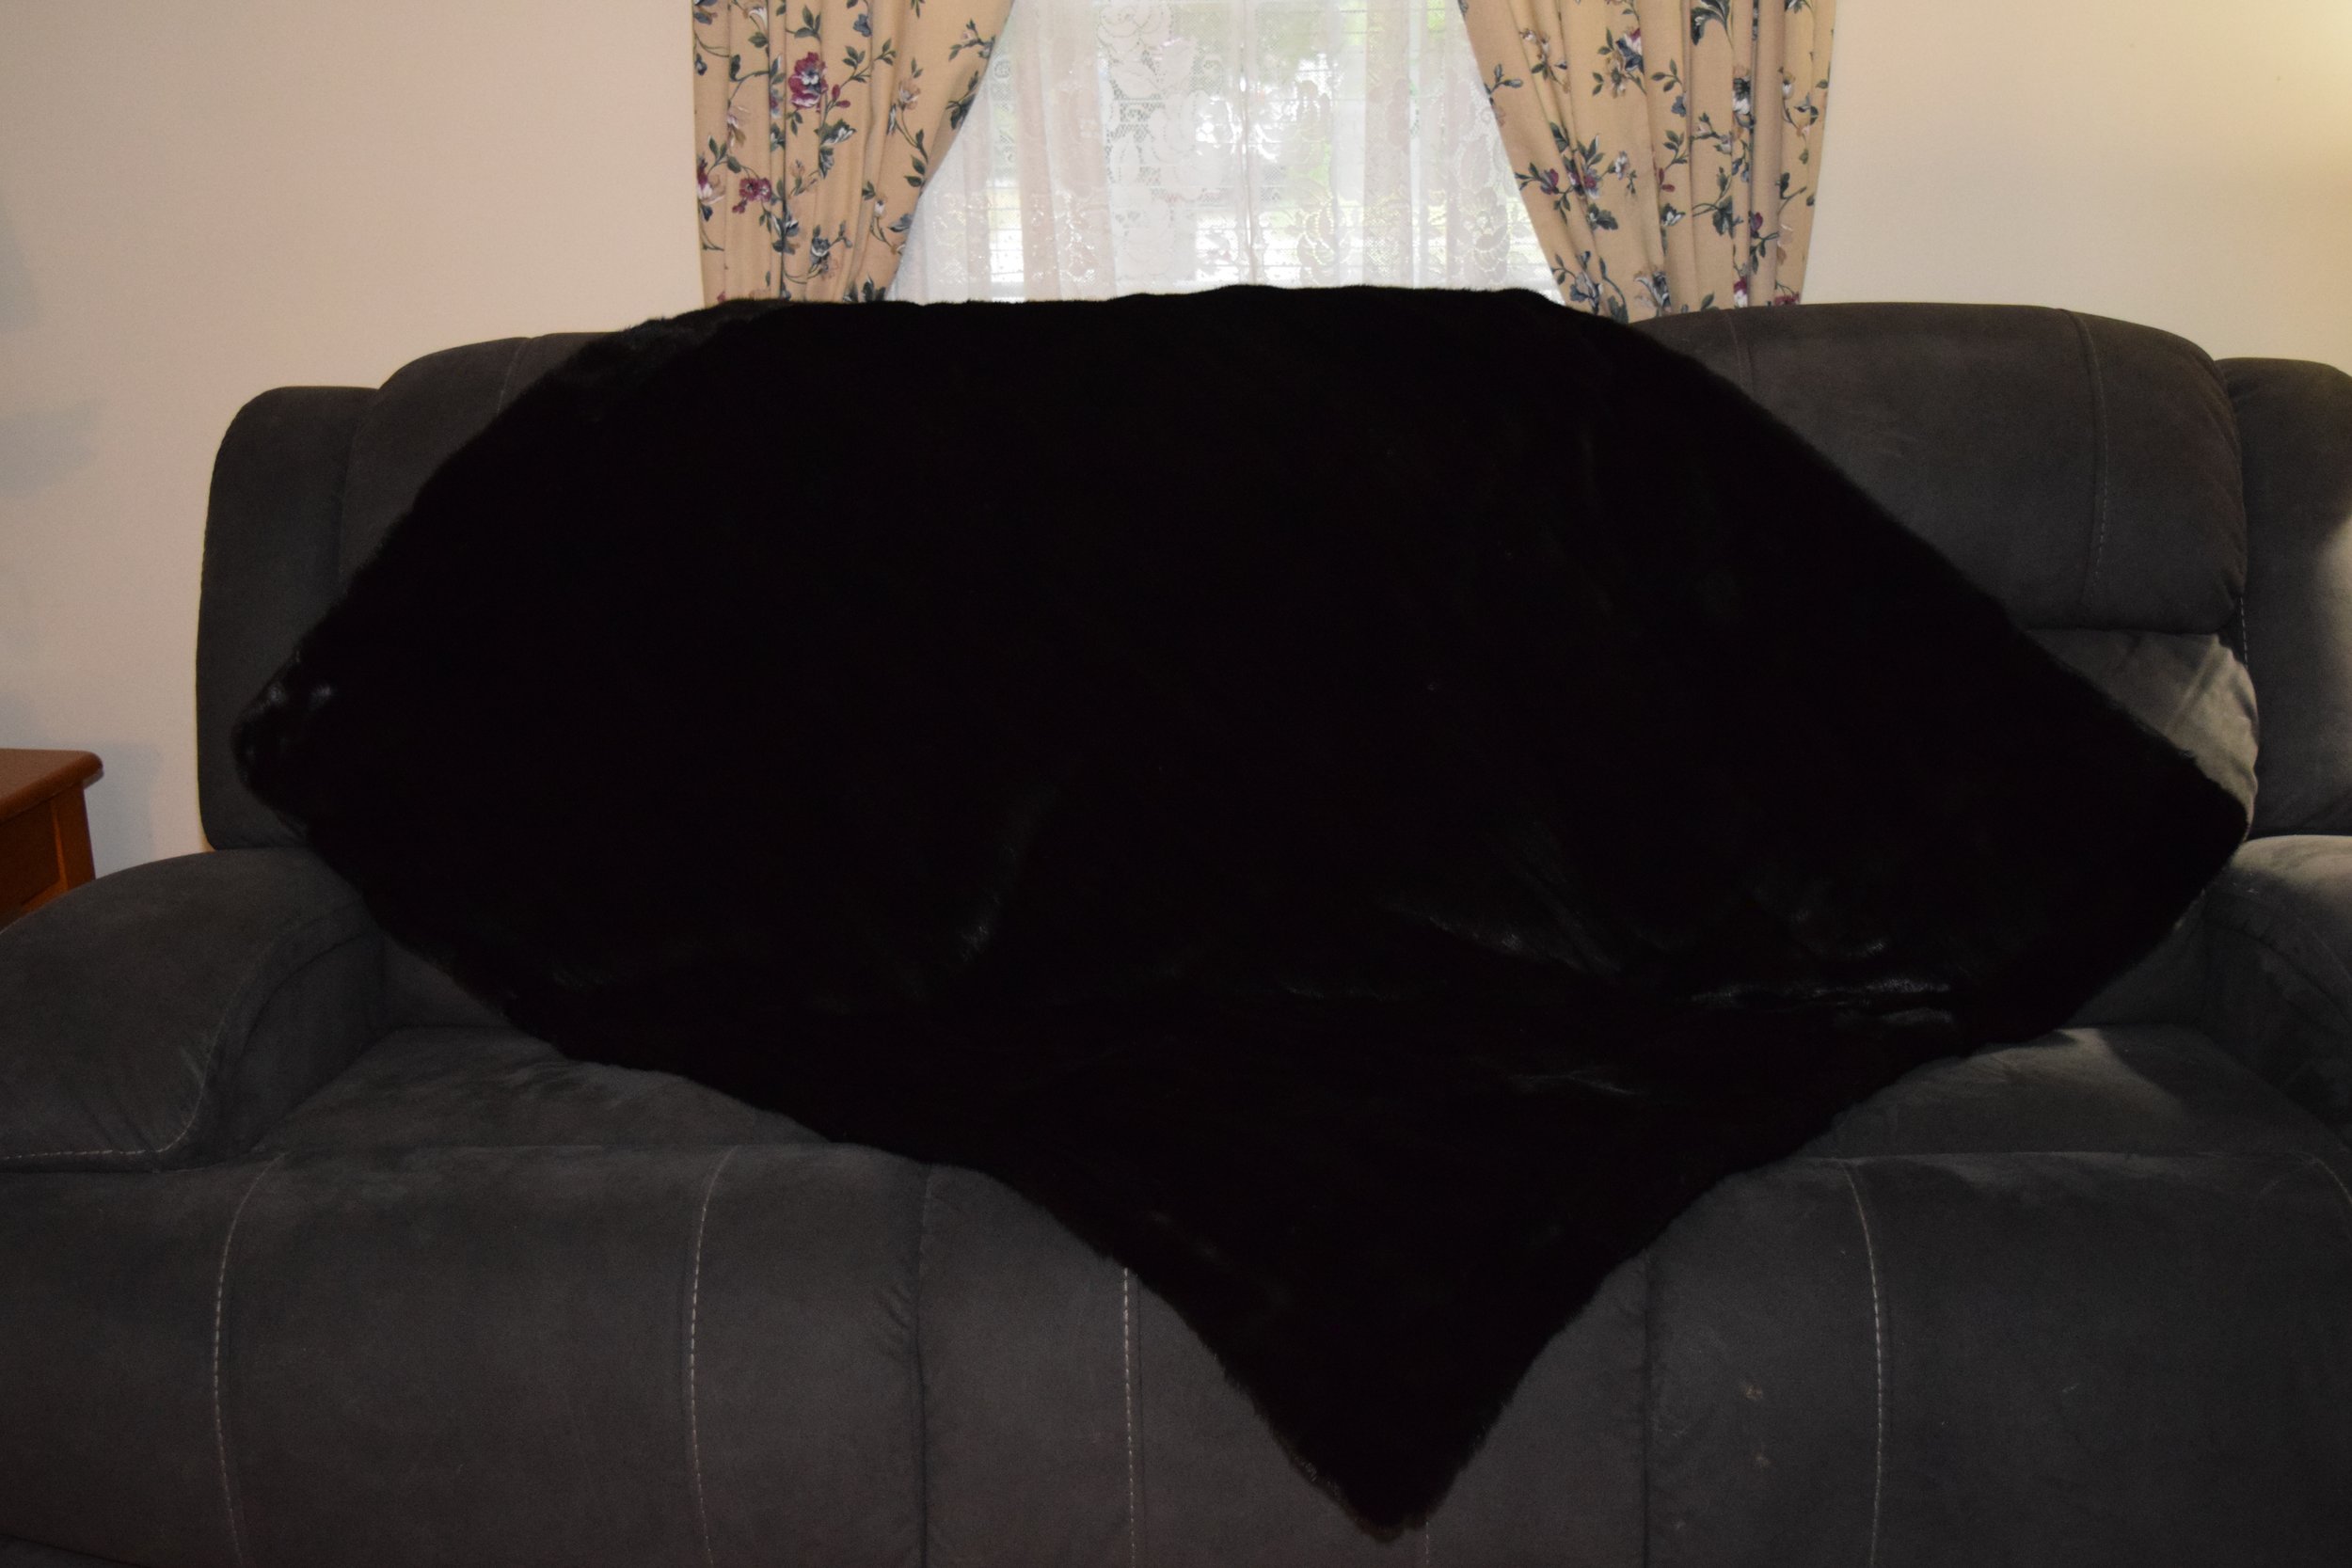
See the video here: Making a Queen/ King Fur Blanket

This had to be the most challenging fur project that I have done so far. It consisted of:

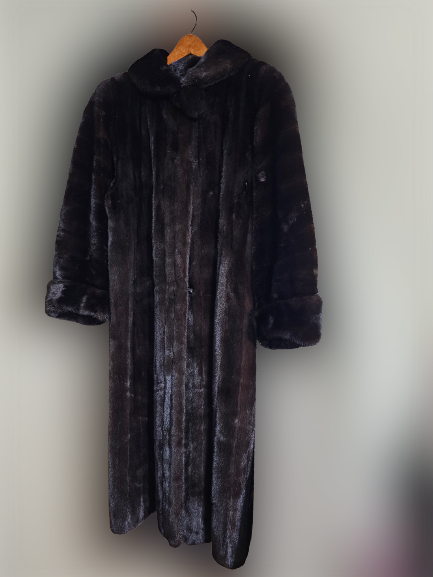
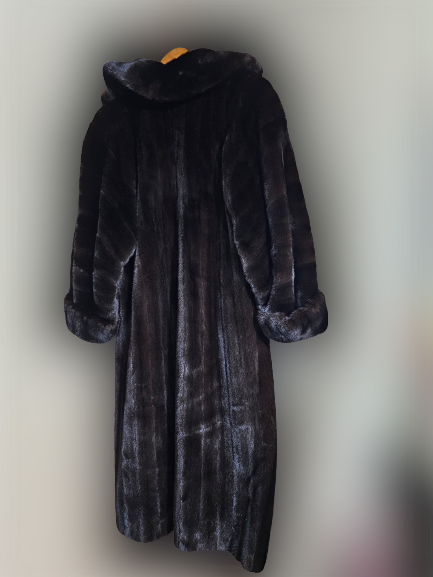
 ·   2 Full Length Fox Coats

·   1 Full Length White Mink Coat

·   3 Mink Shawls ~ 2 Tan Mink and 1 Silver Mink

·   1 Patchwork Fox Short Waisted Jacket

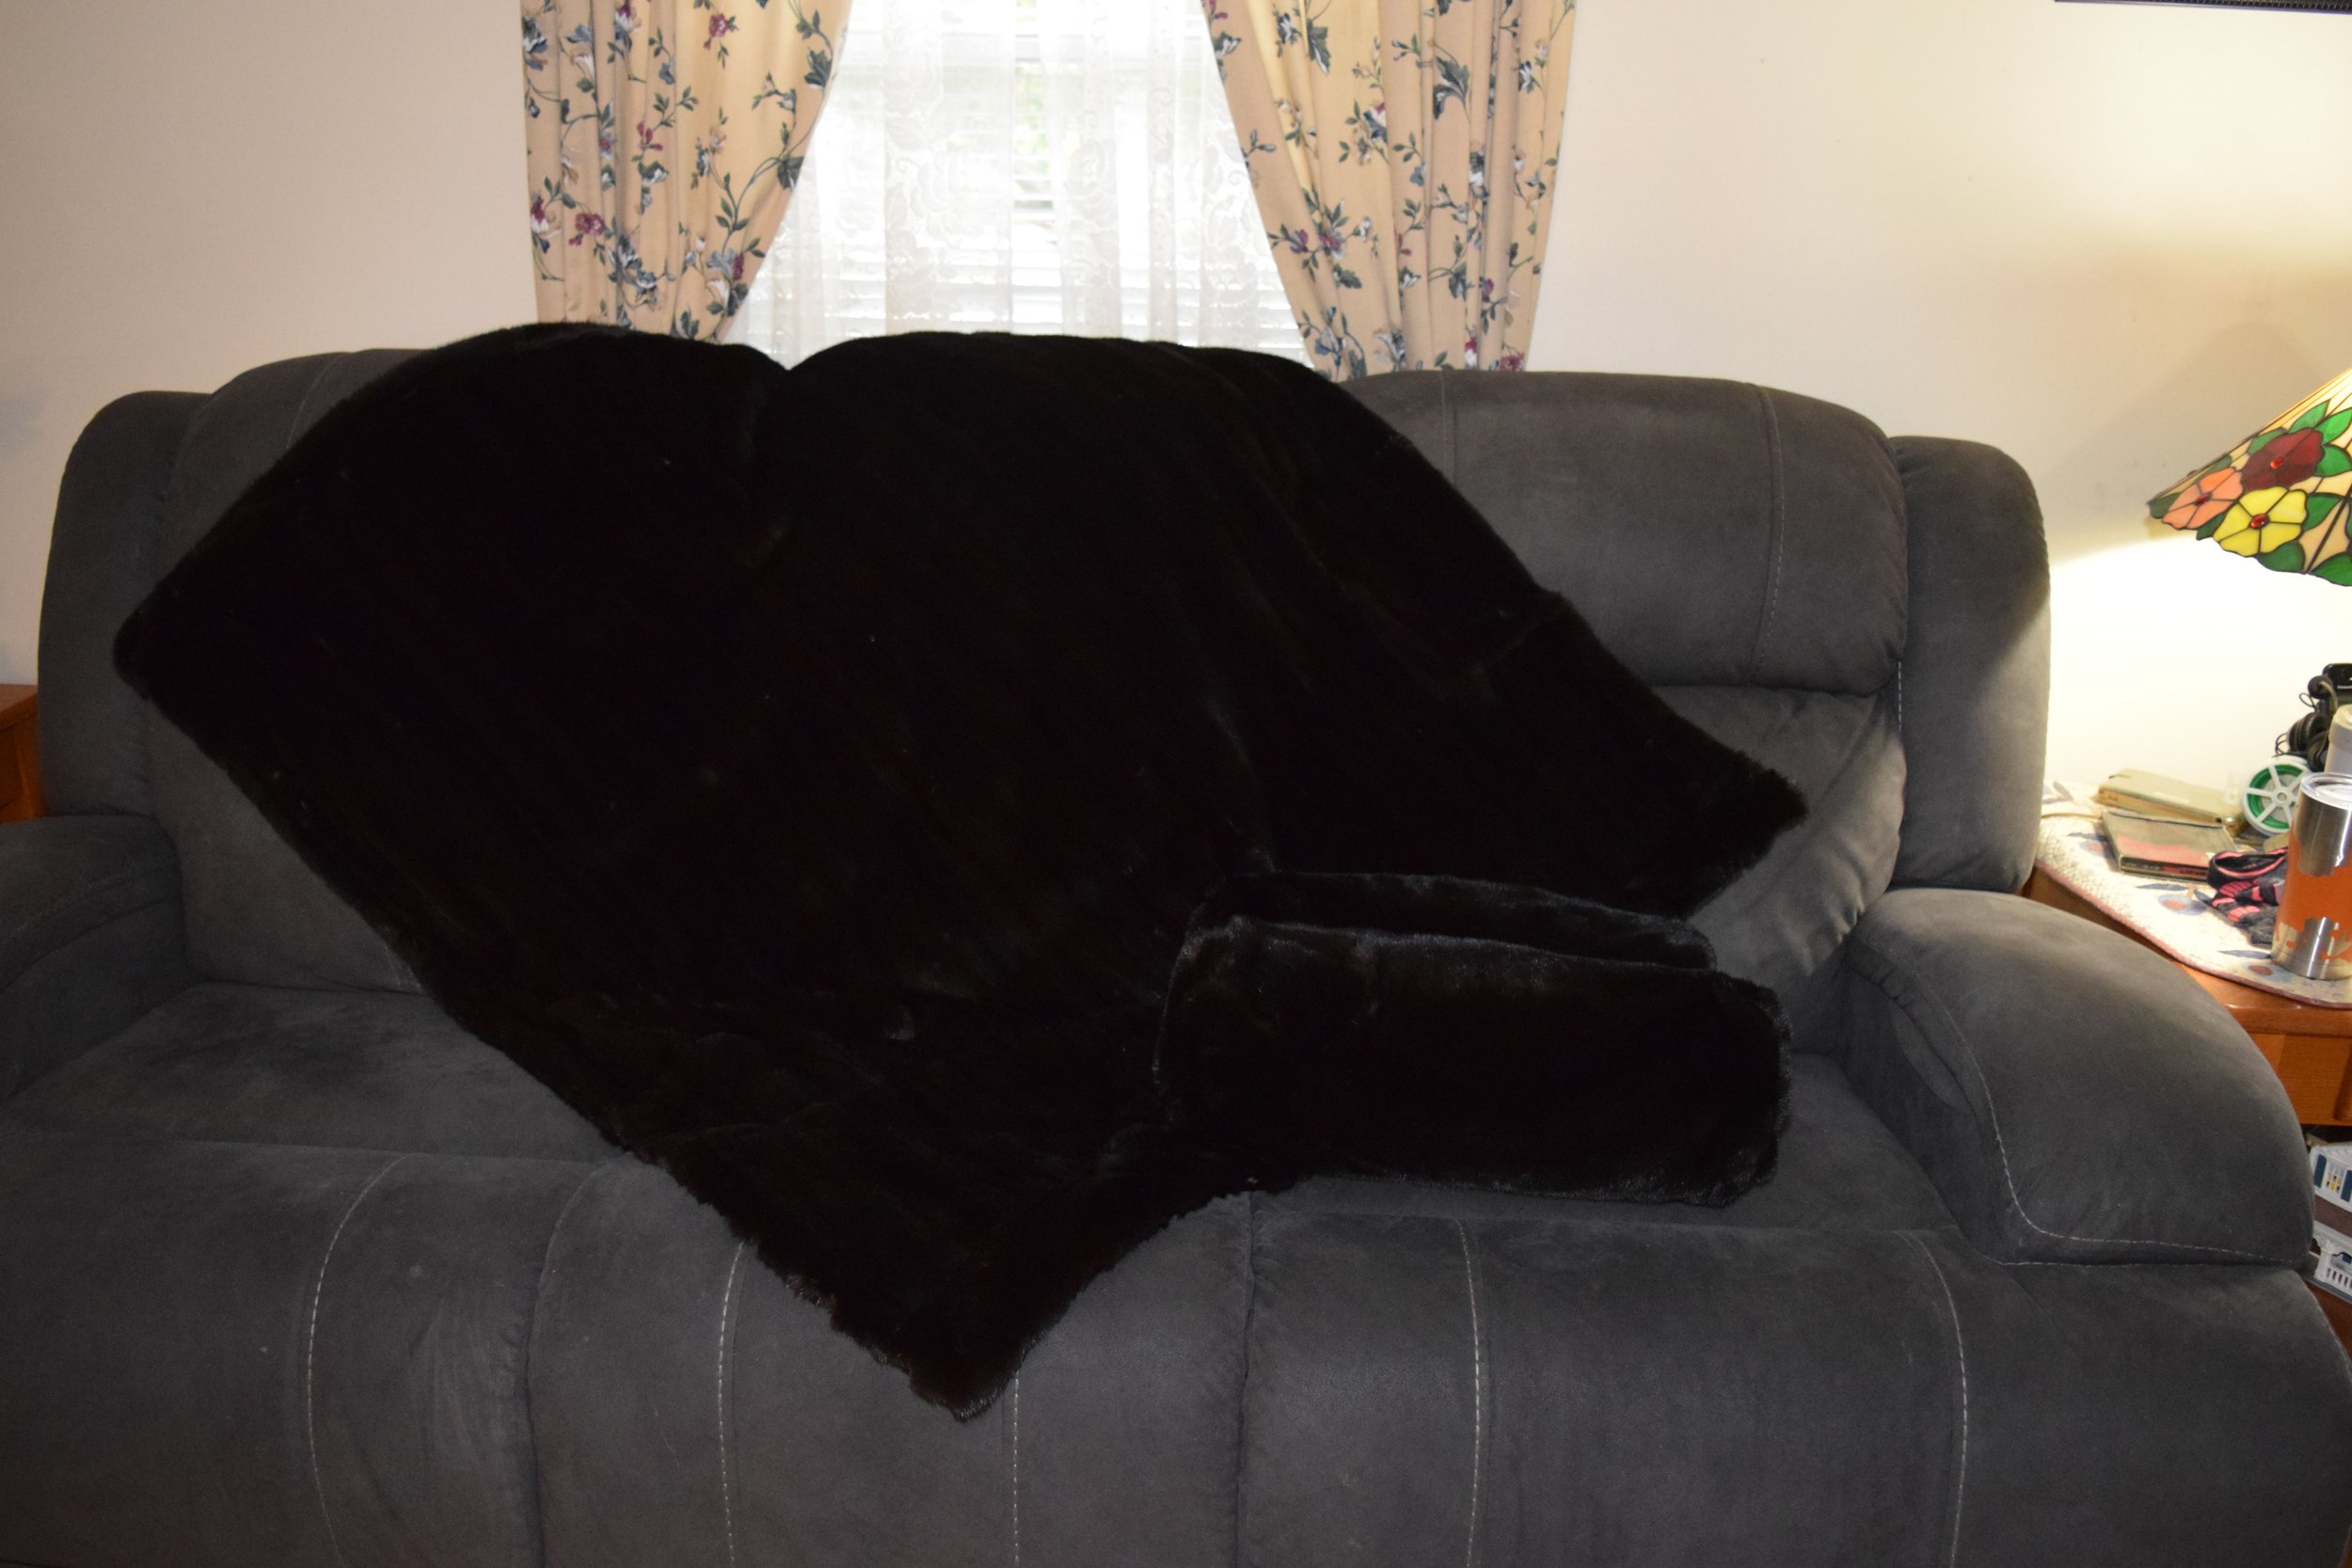
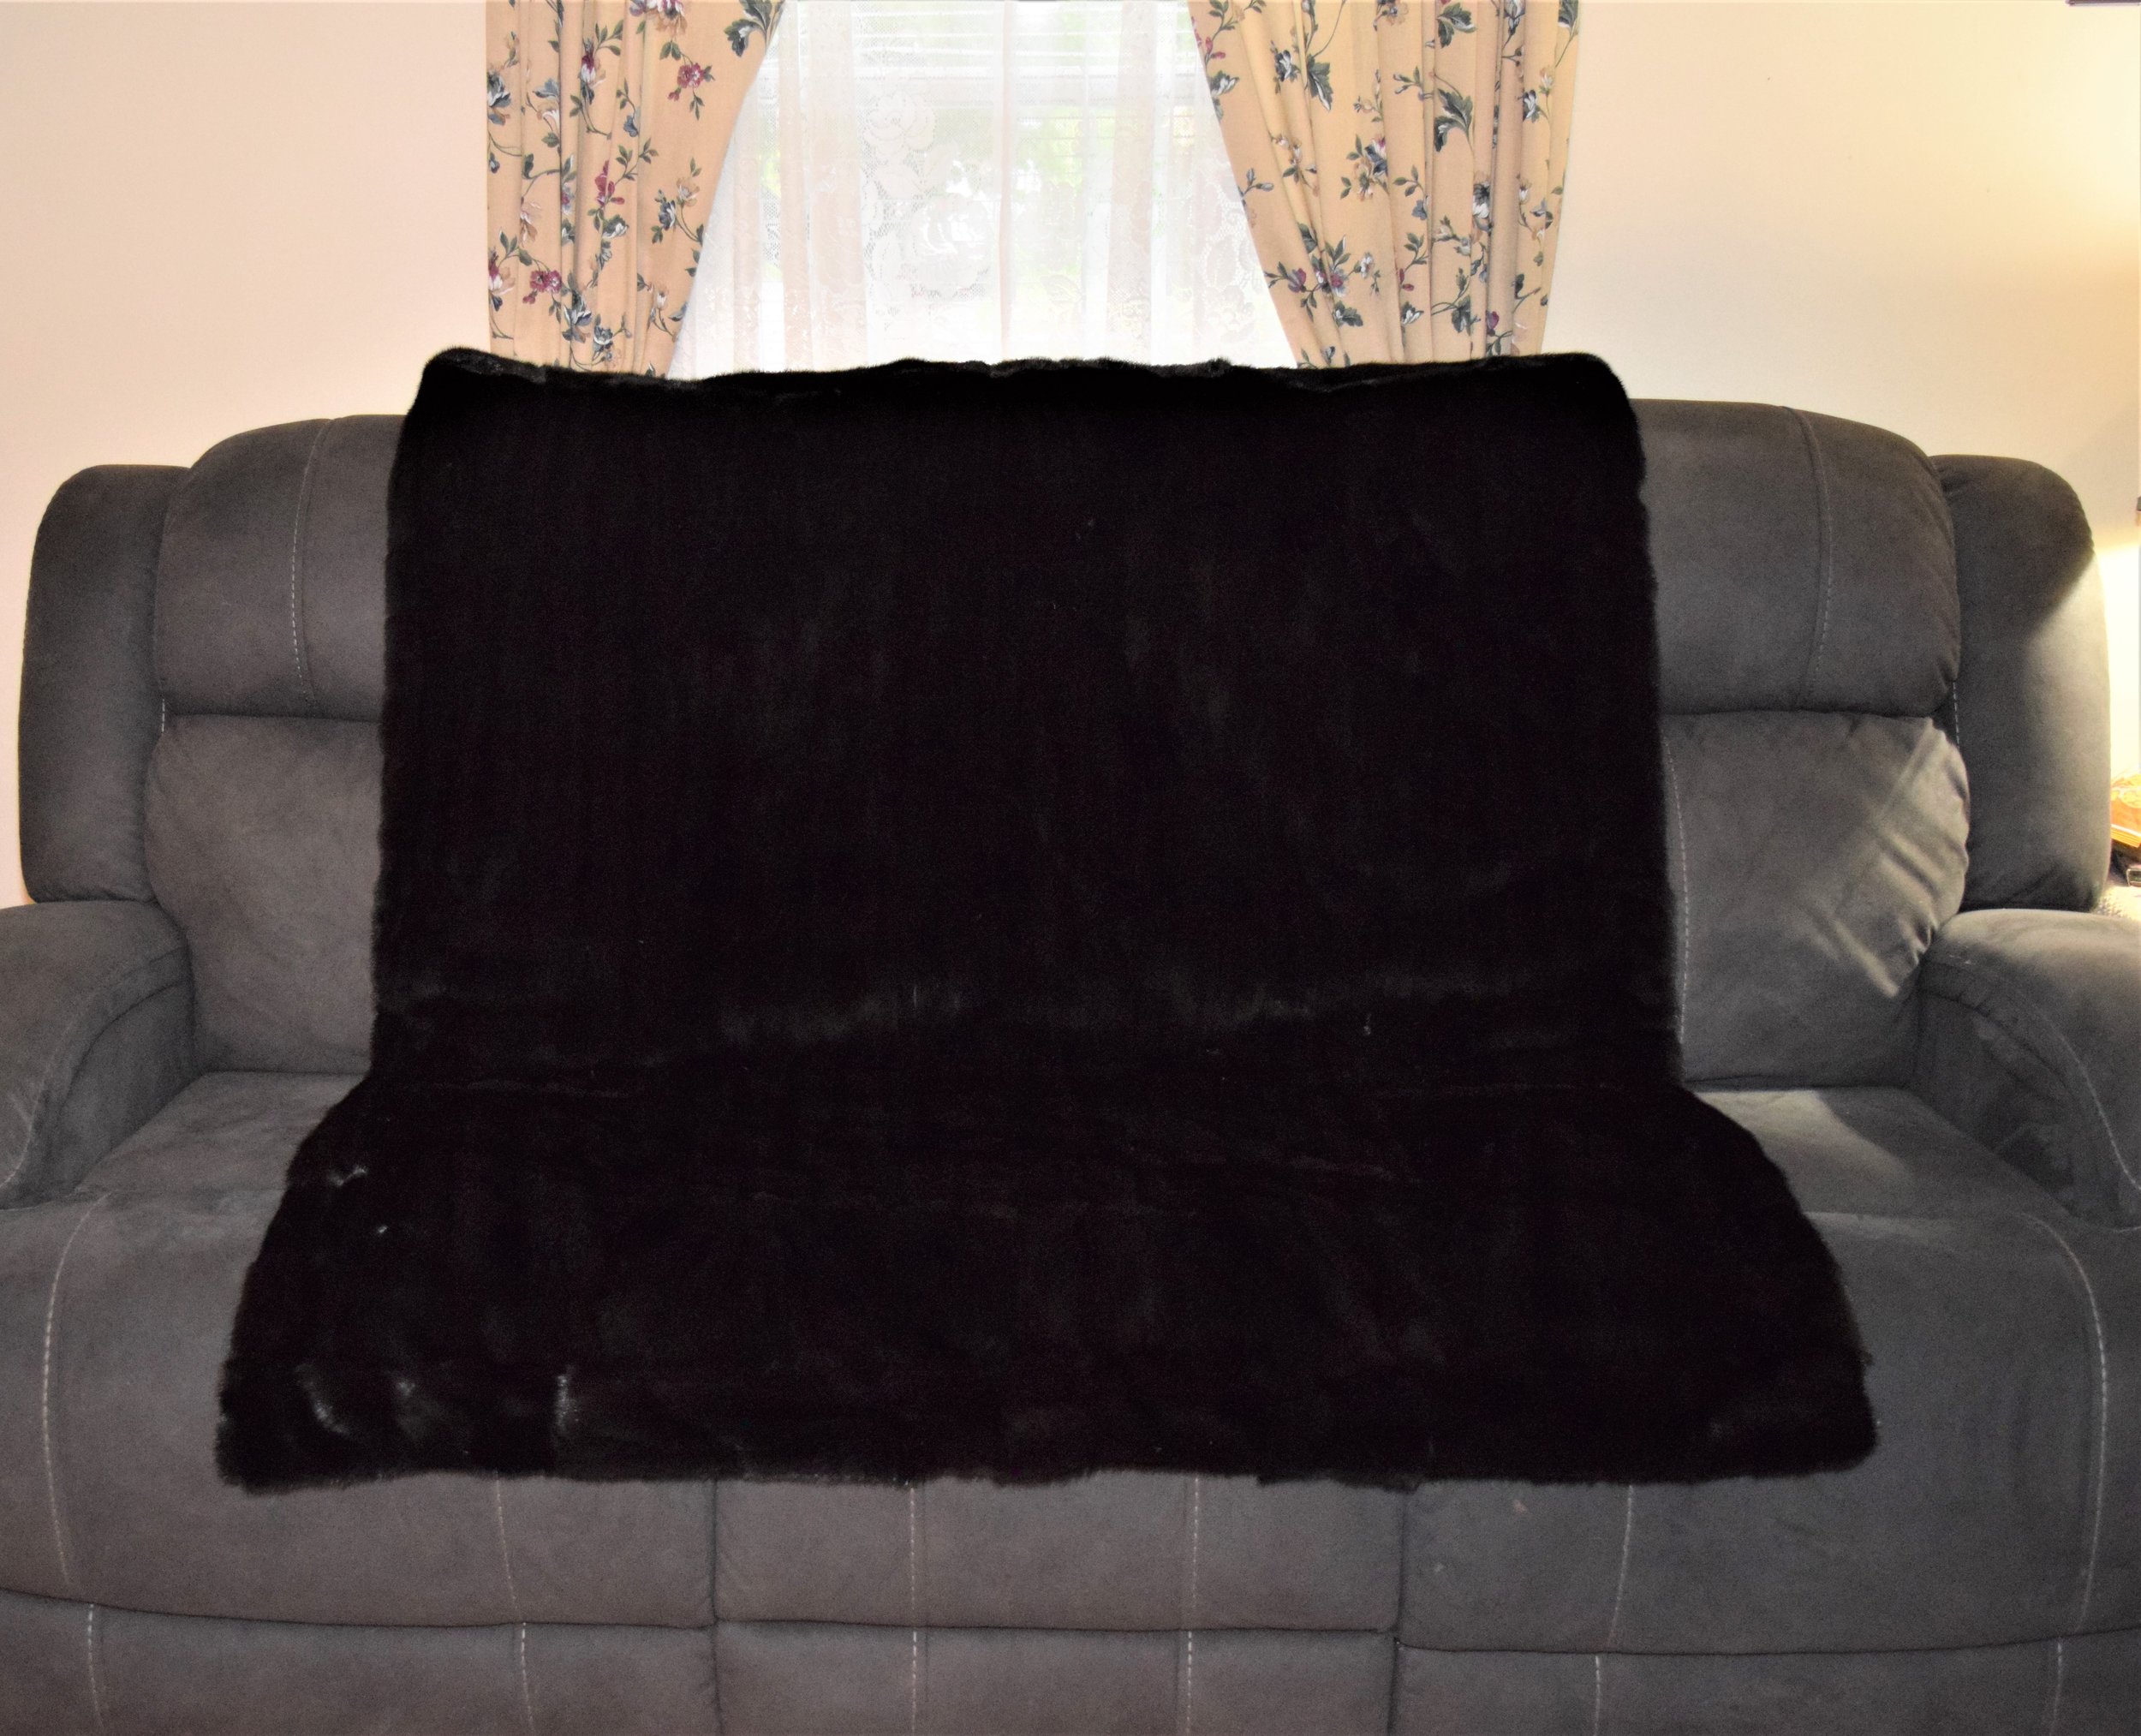
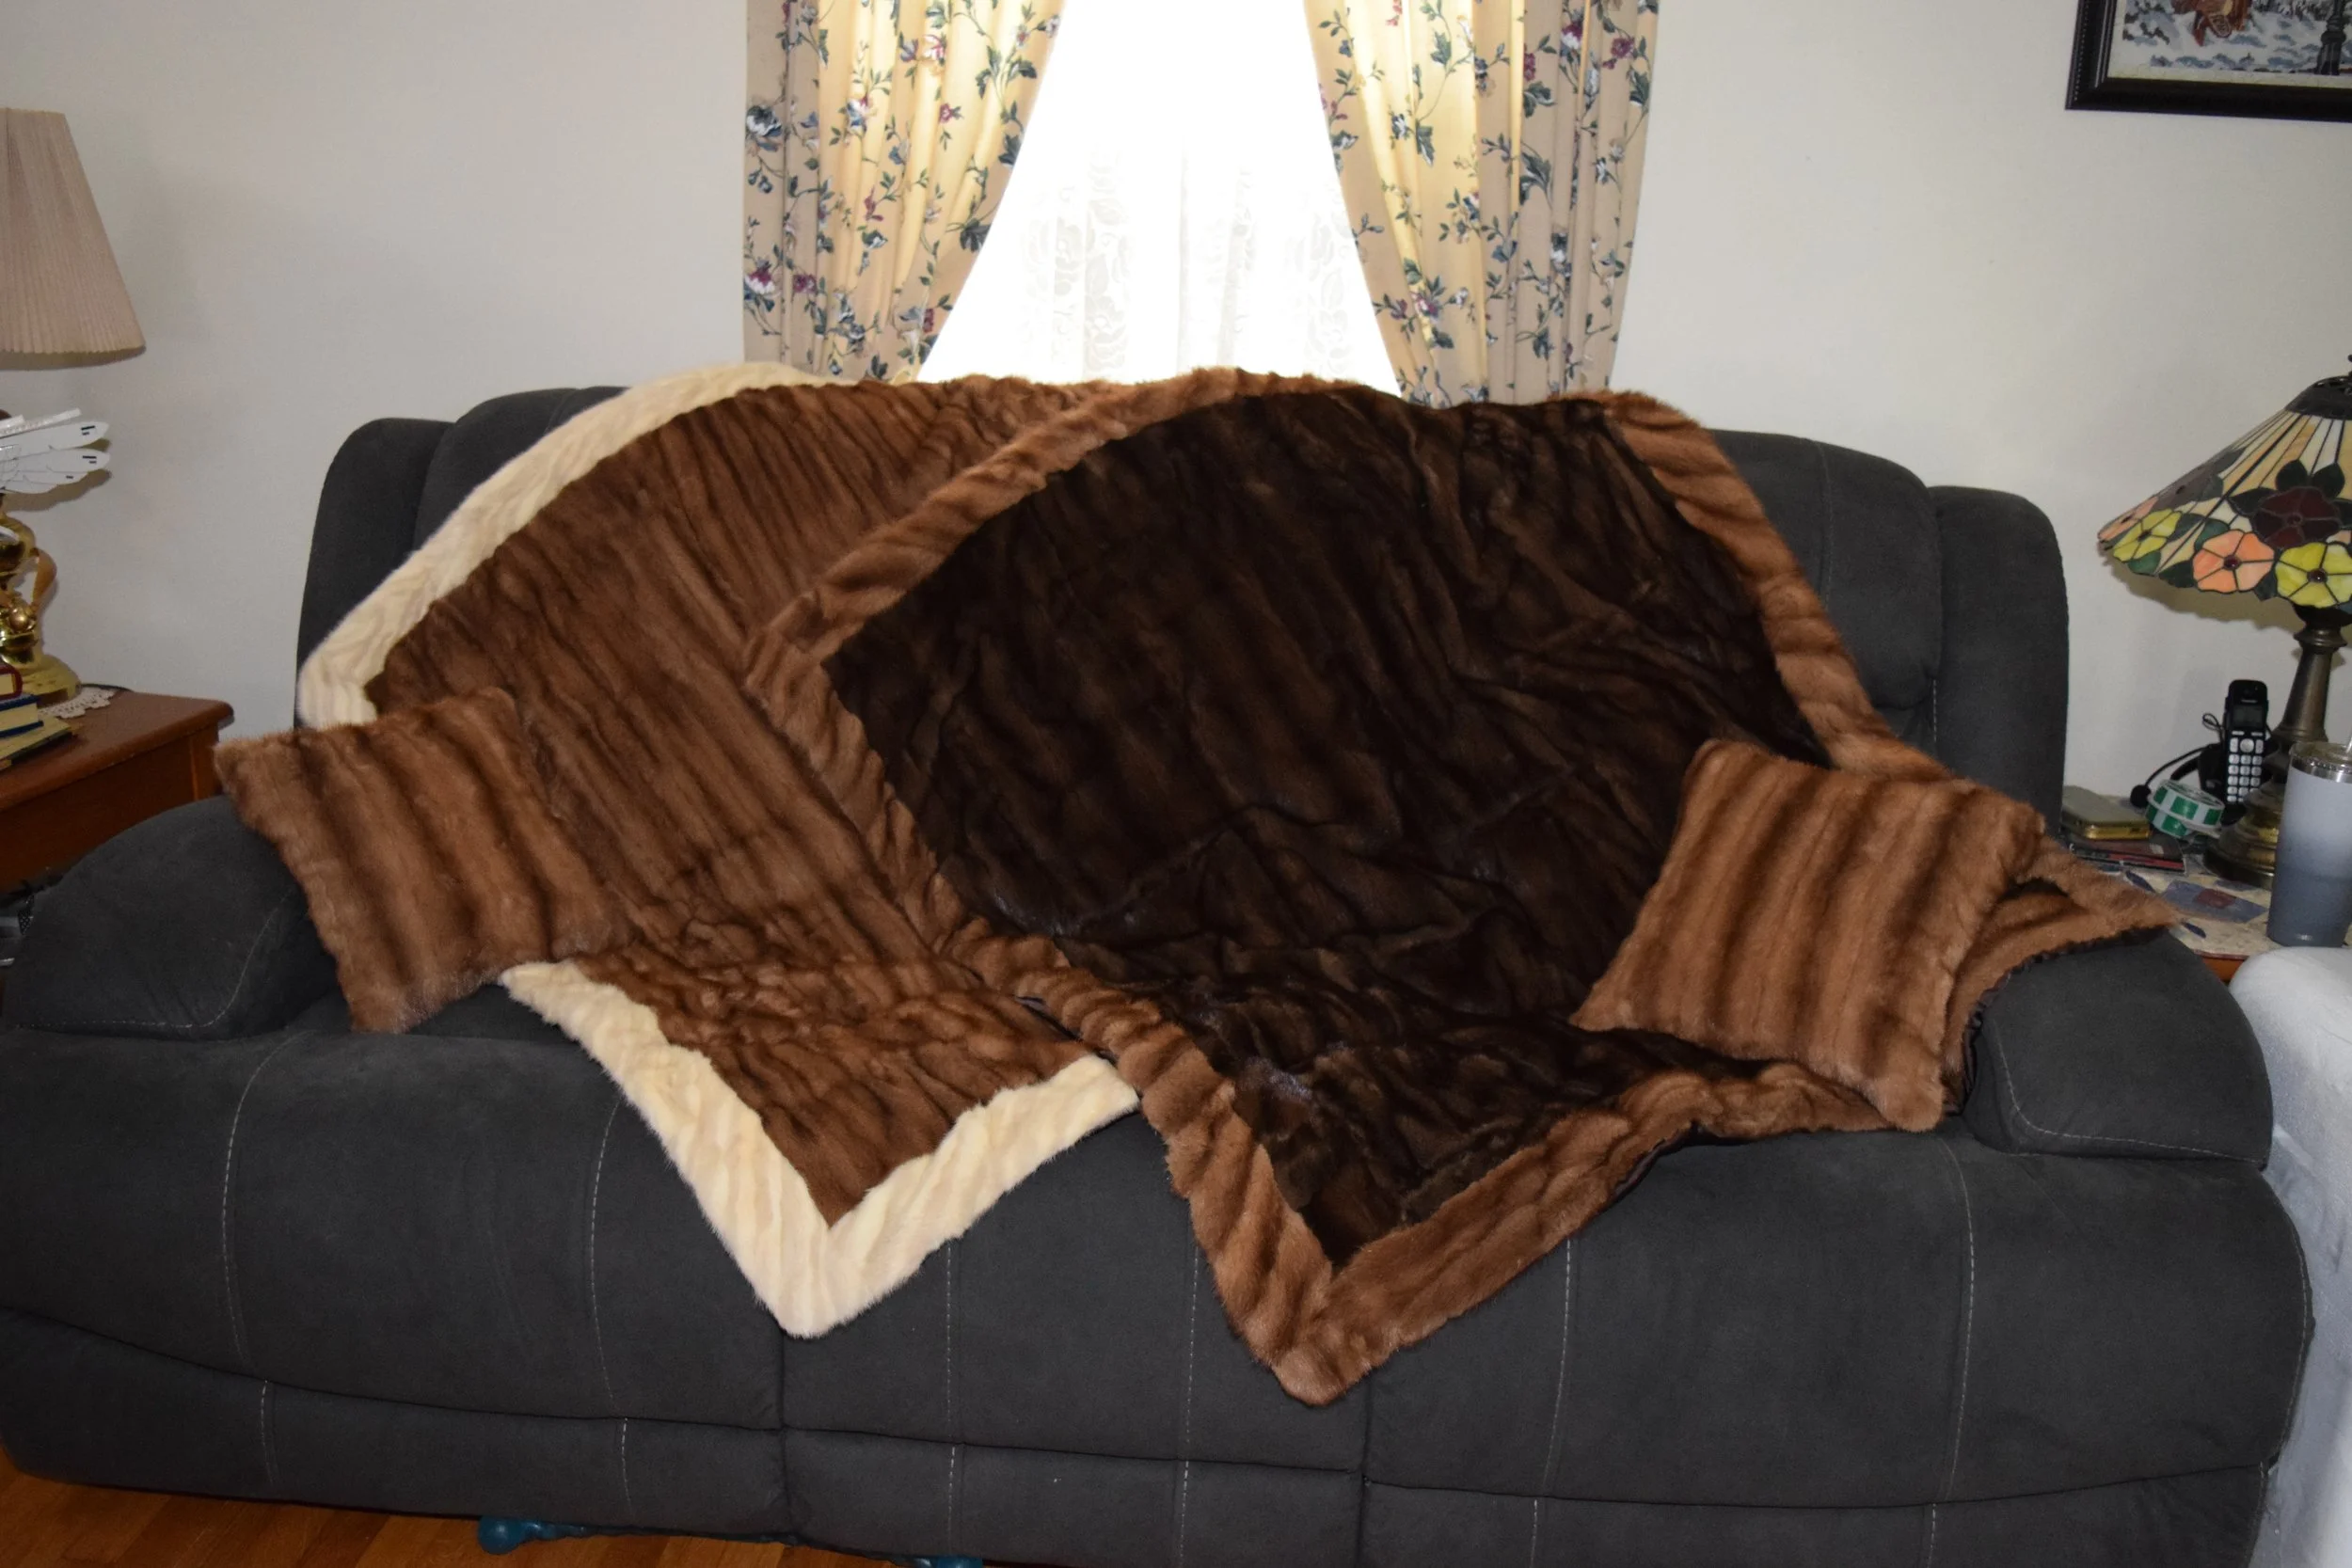
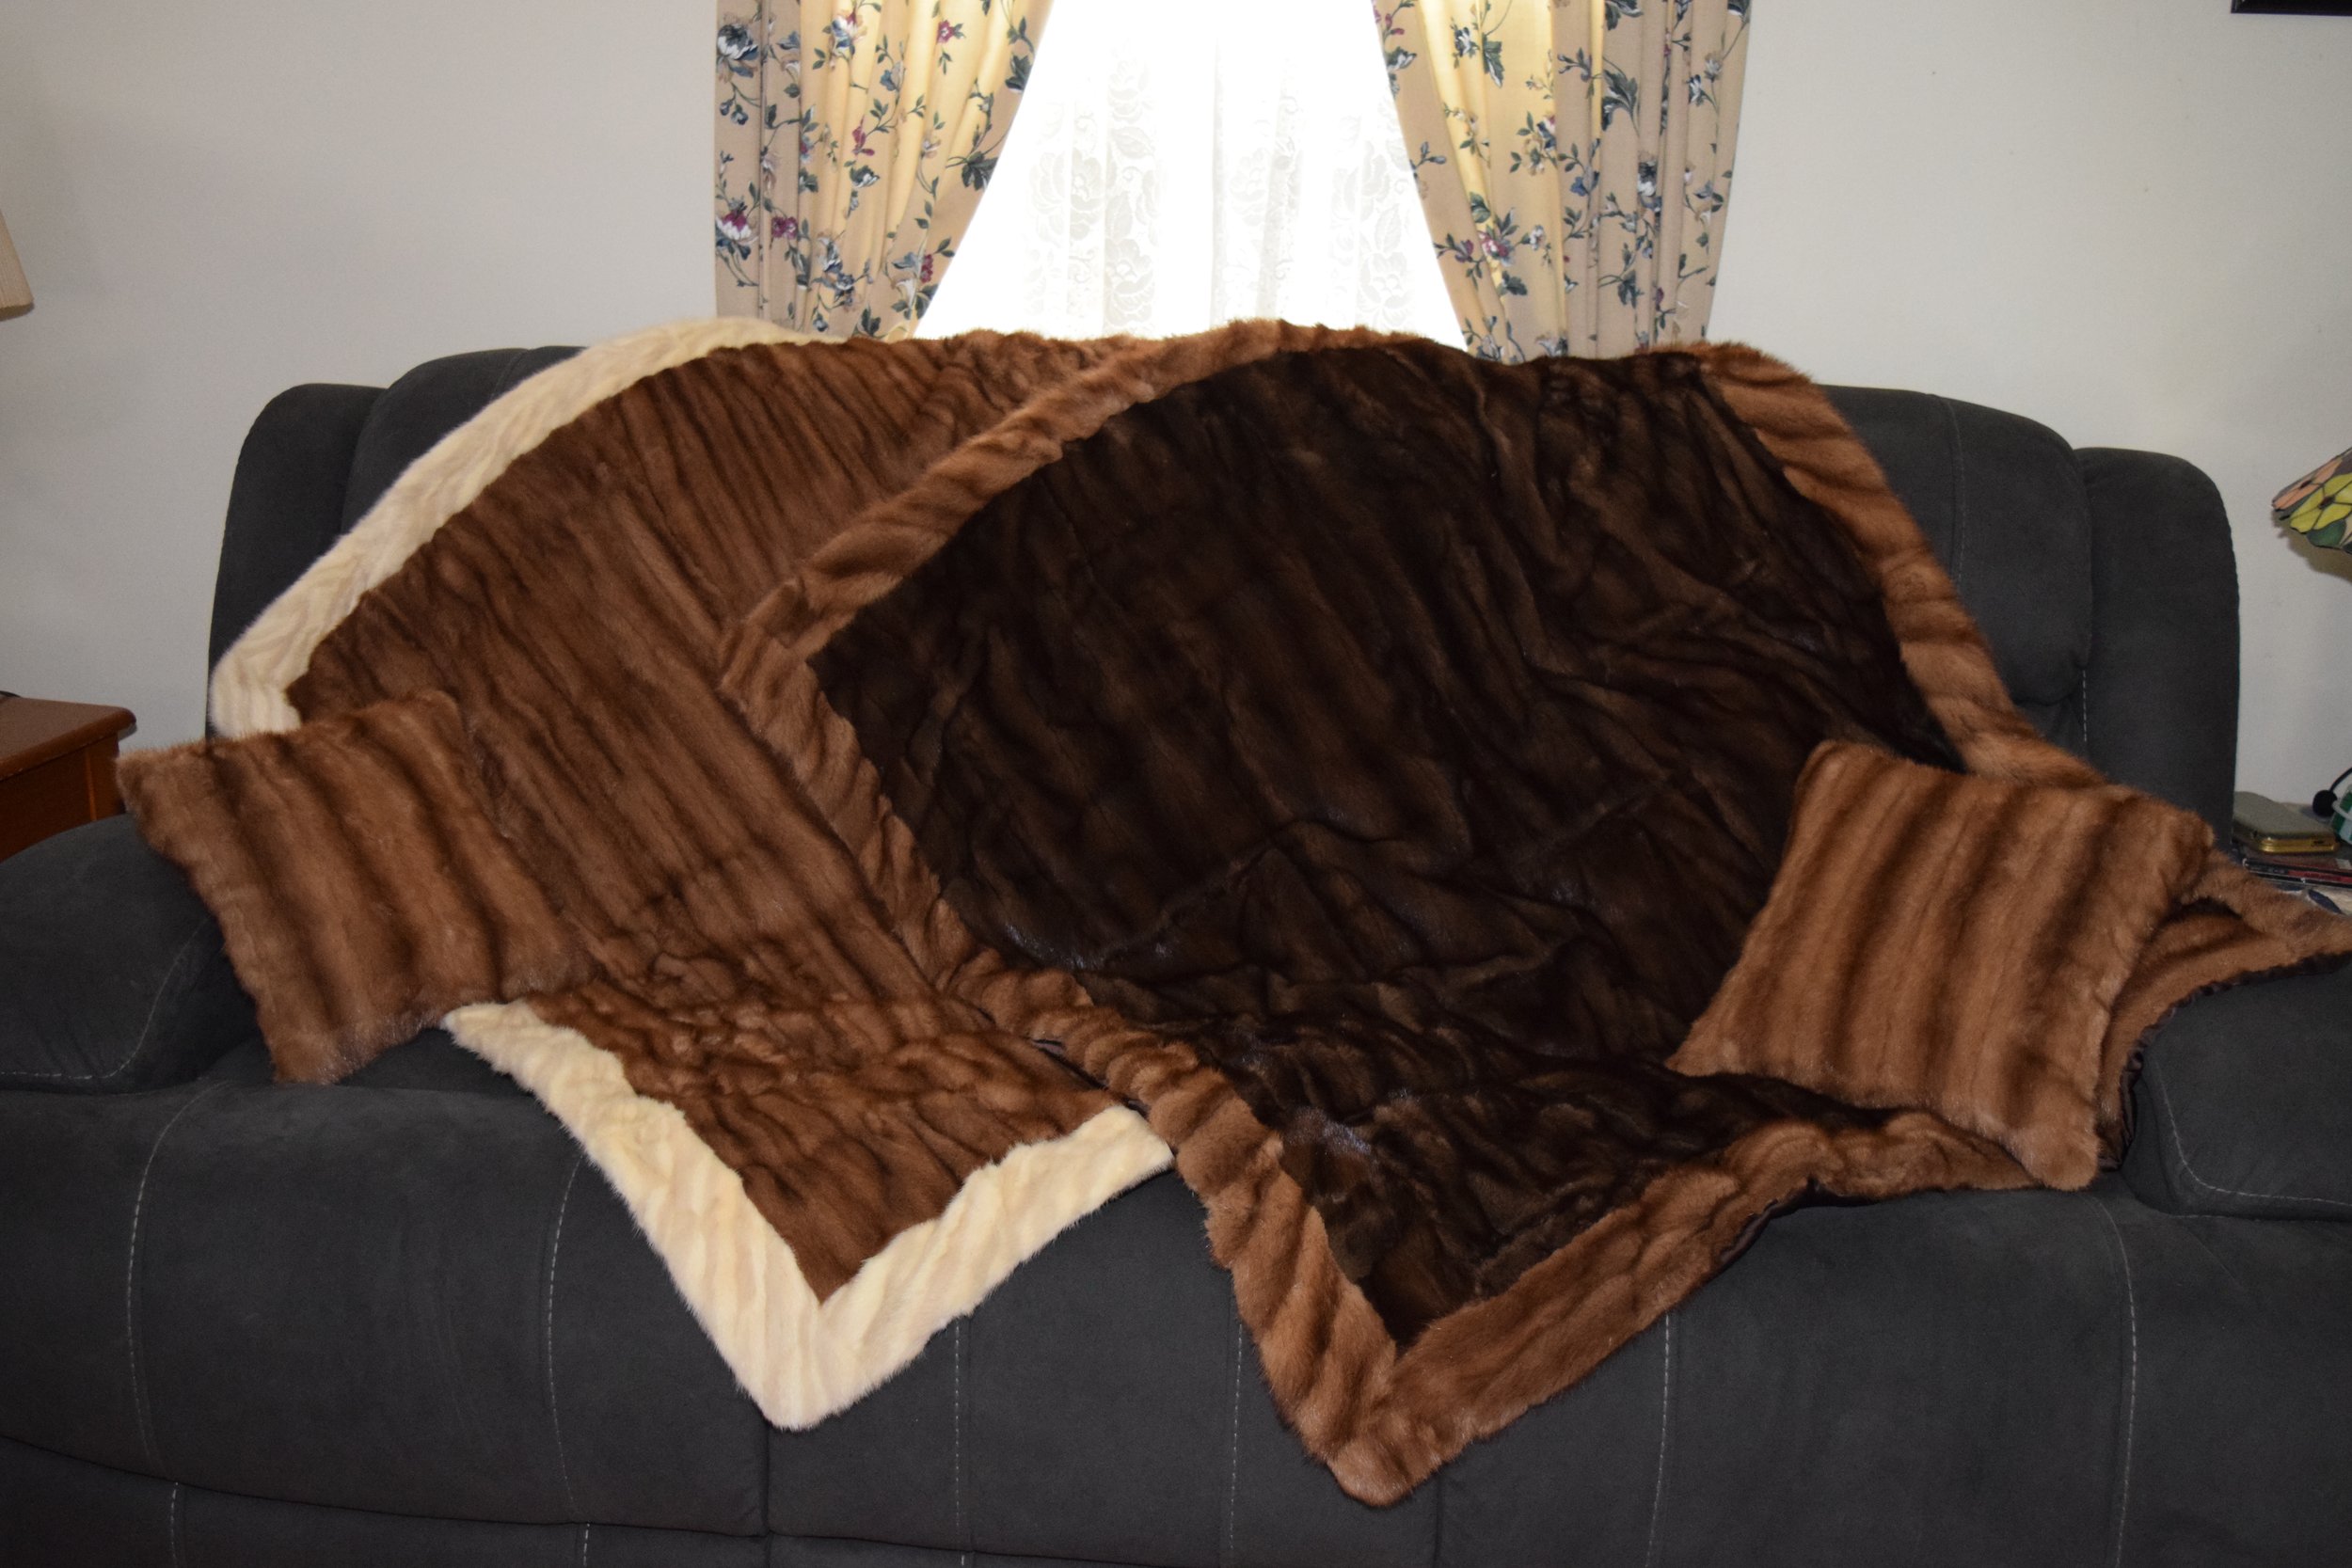
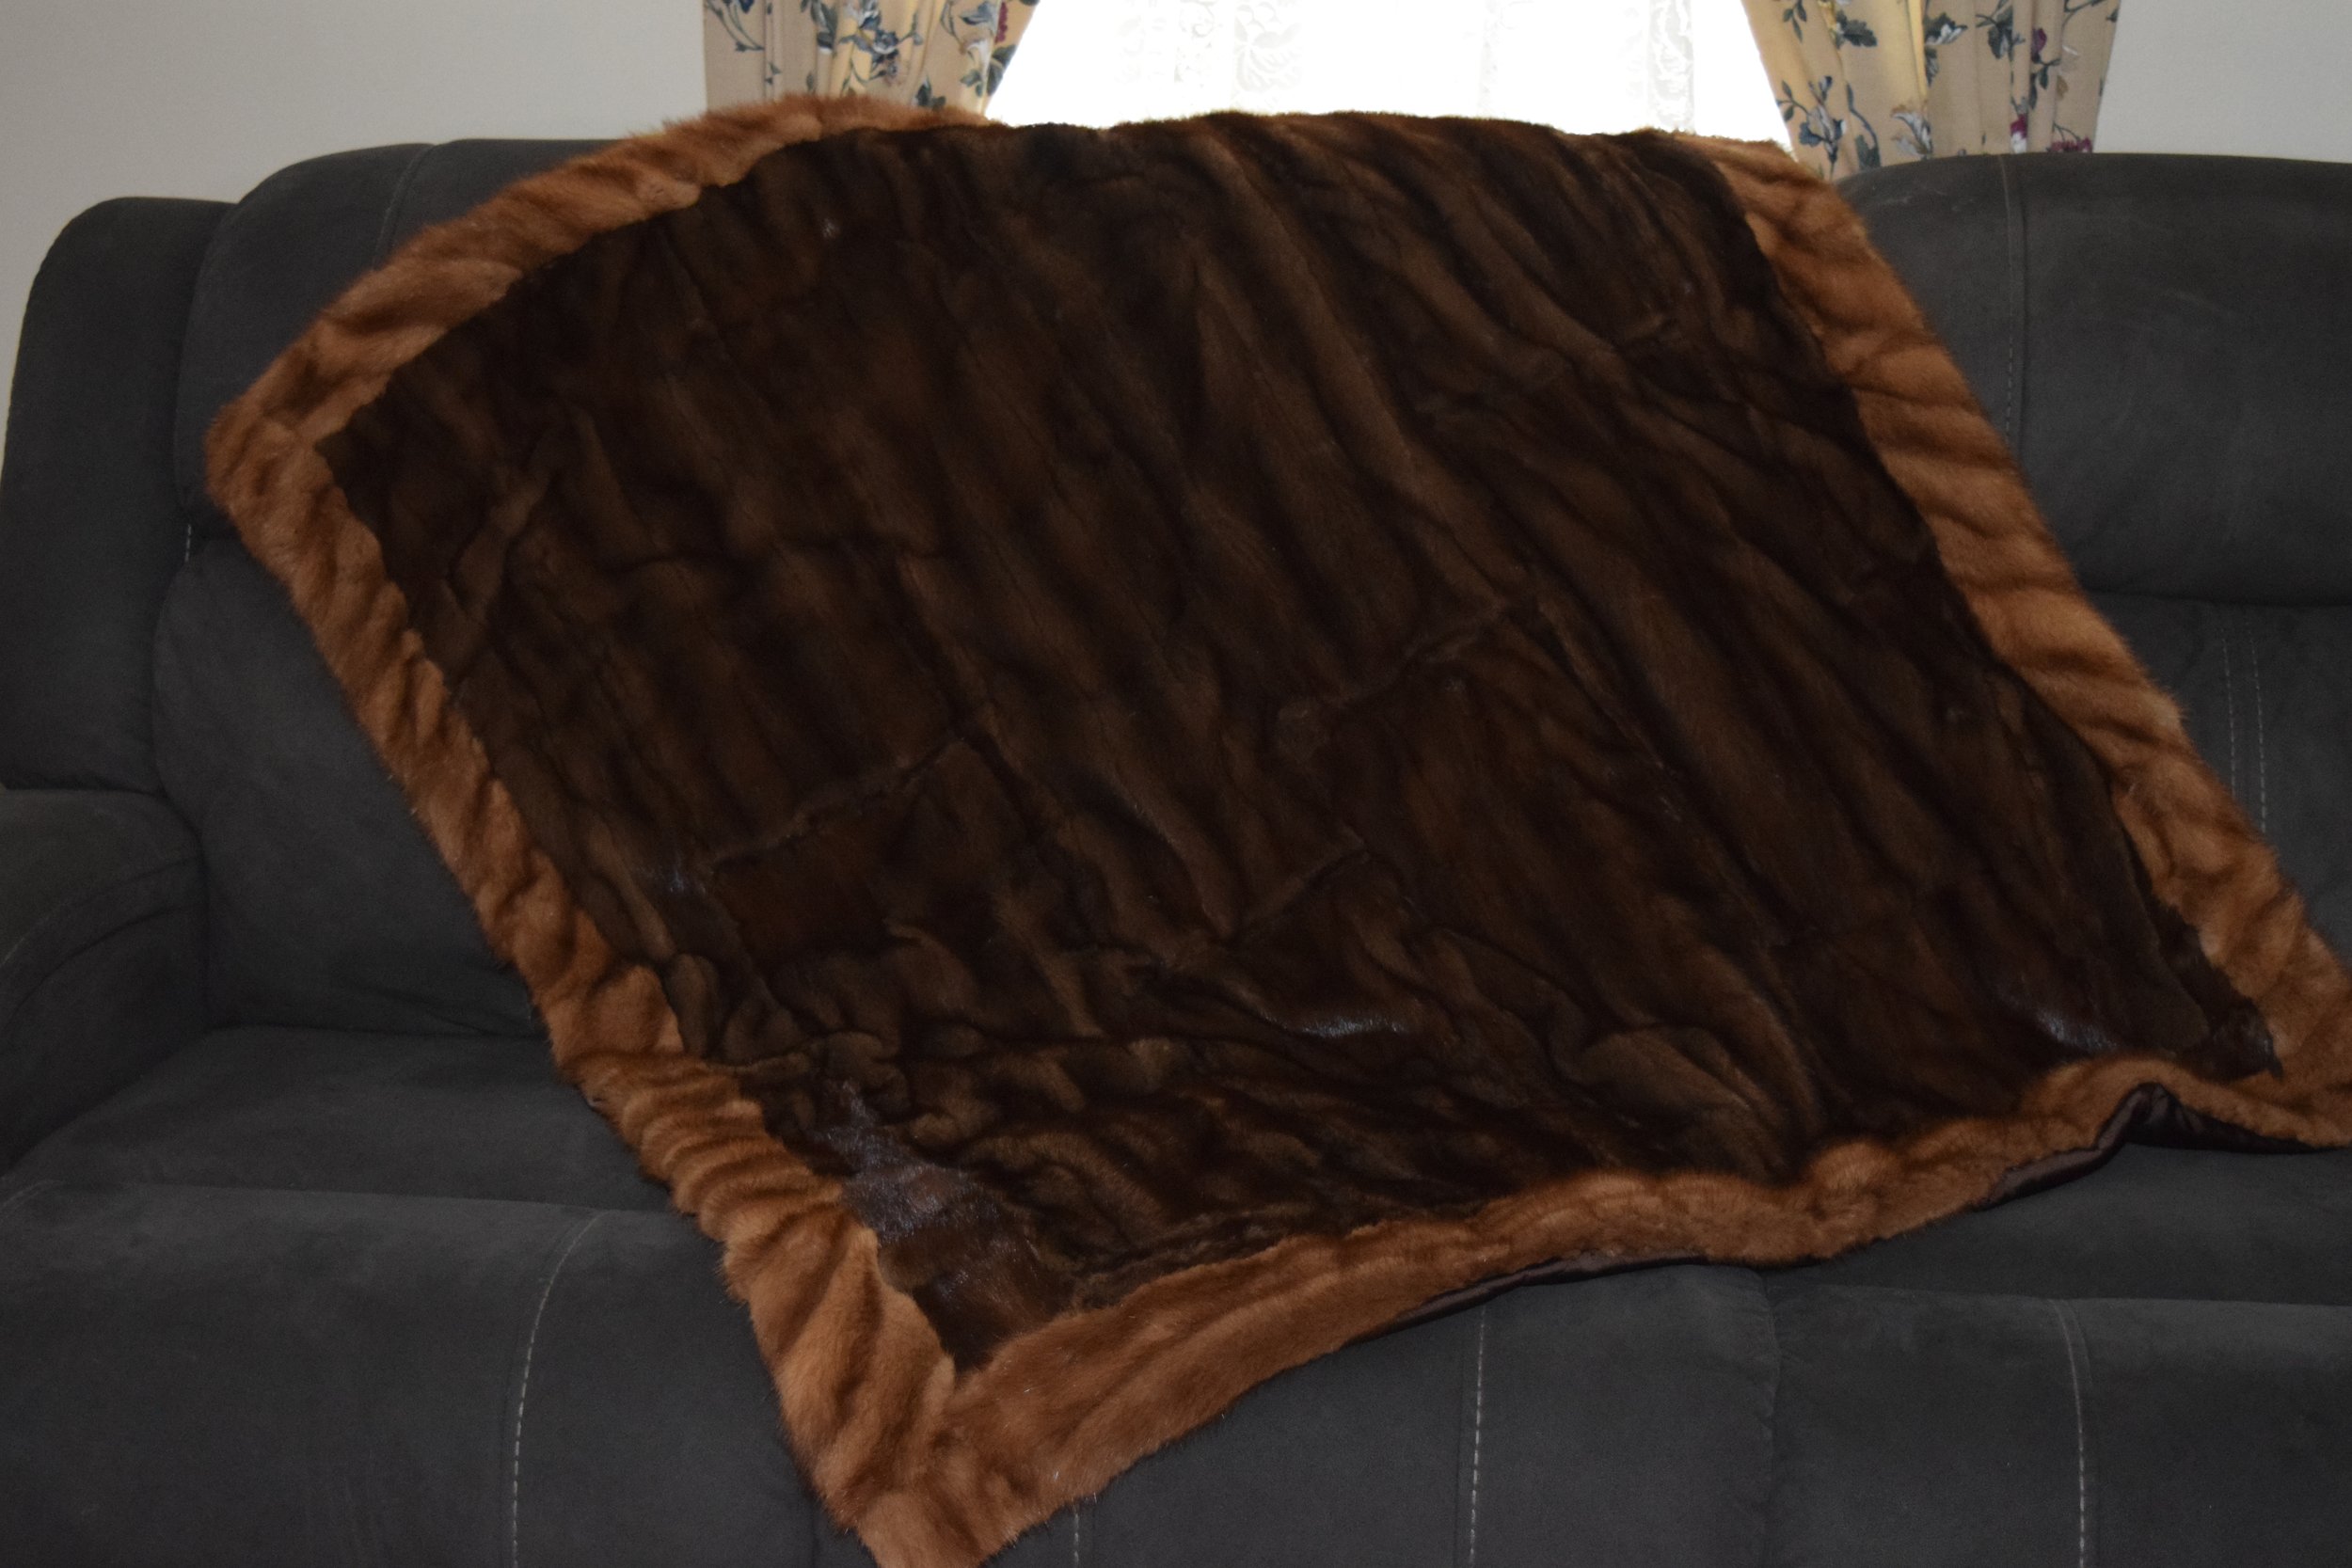
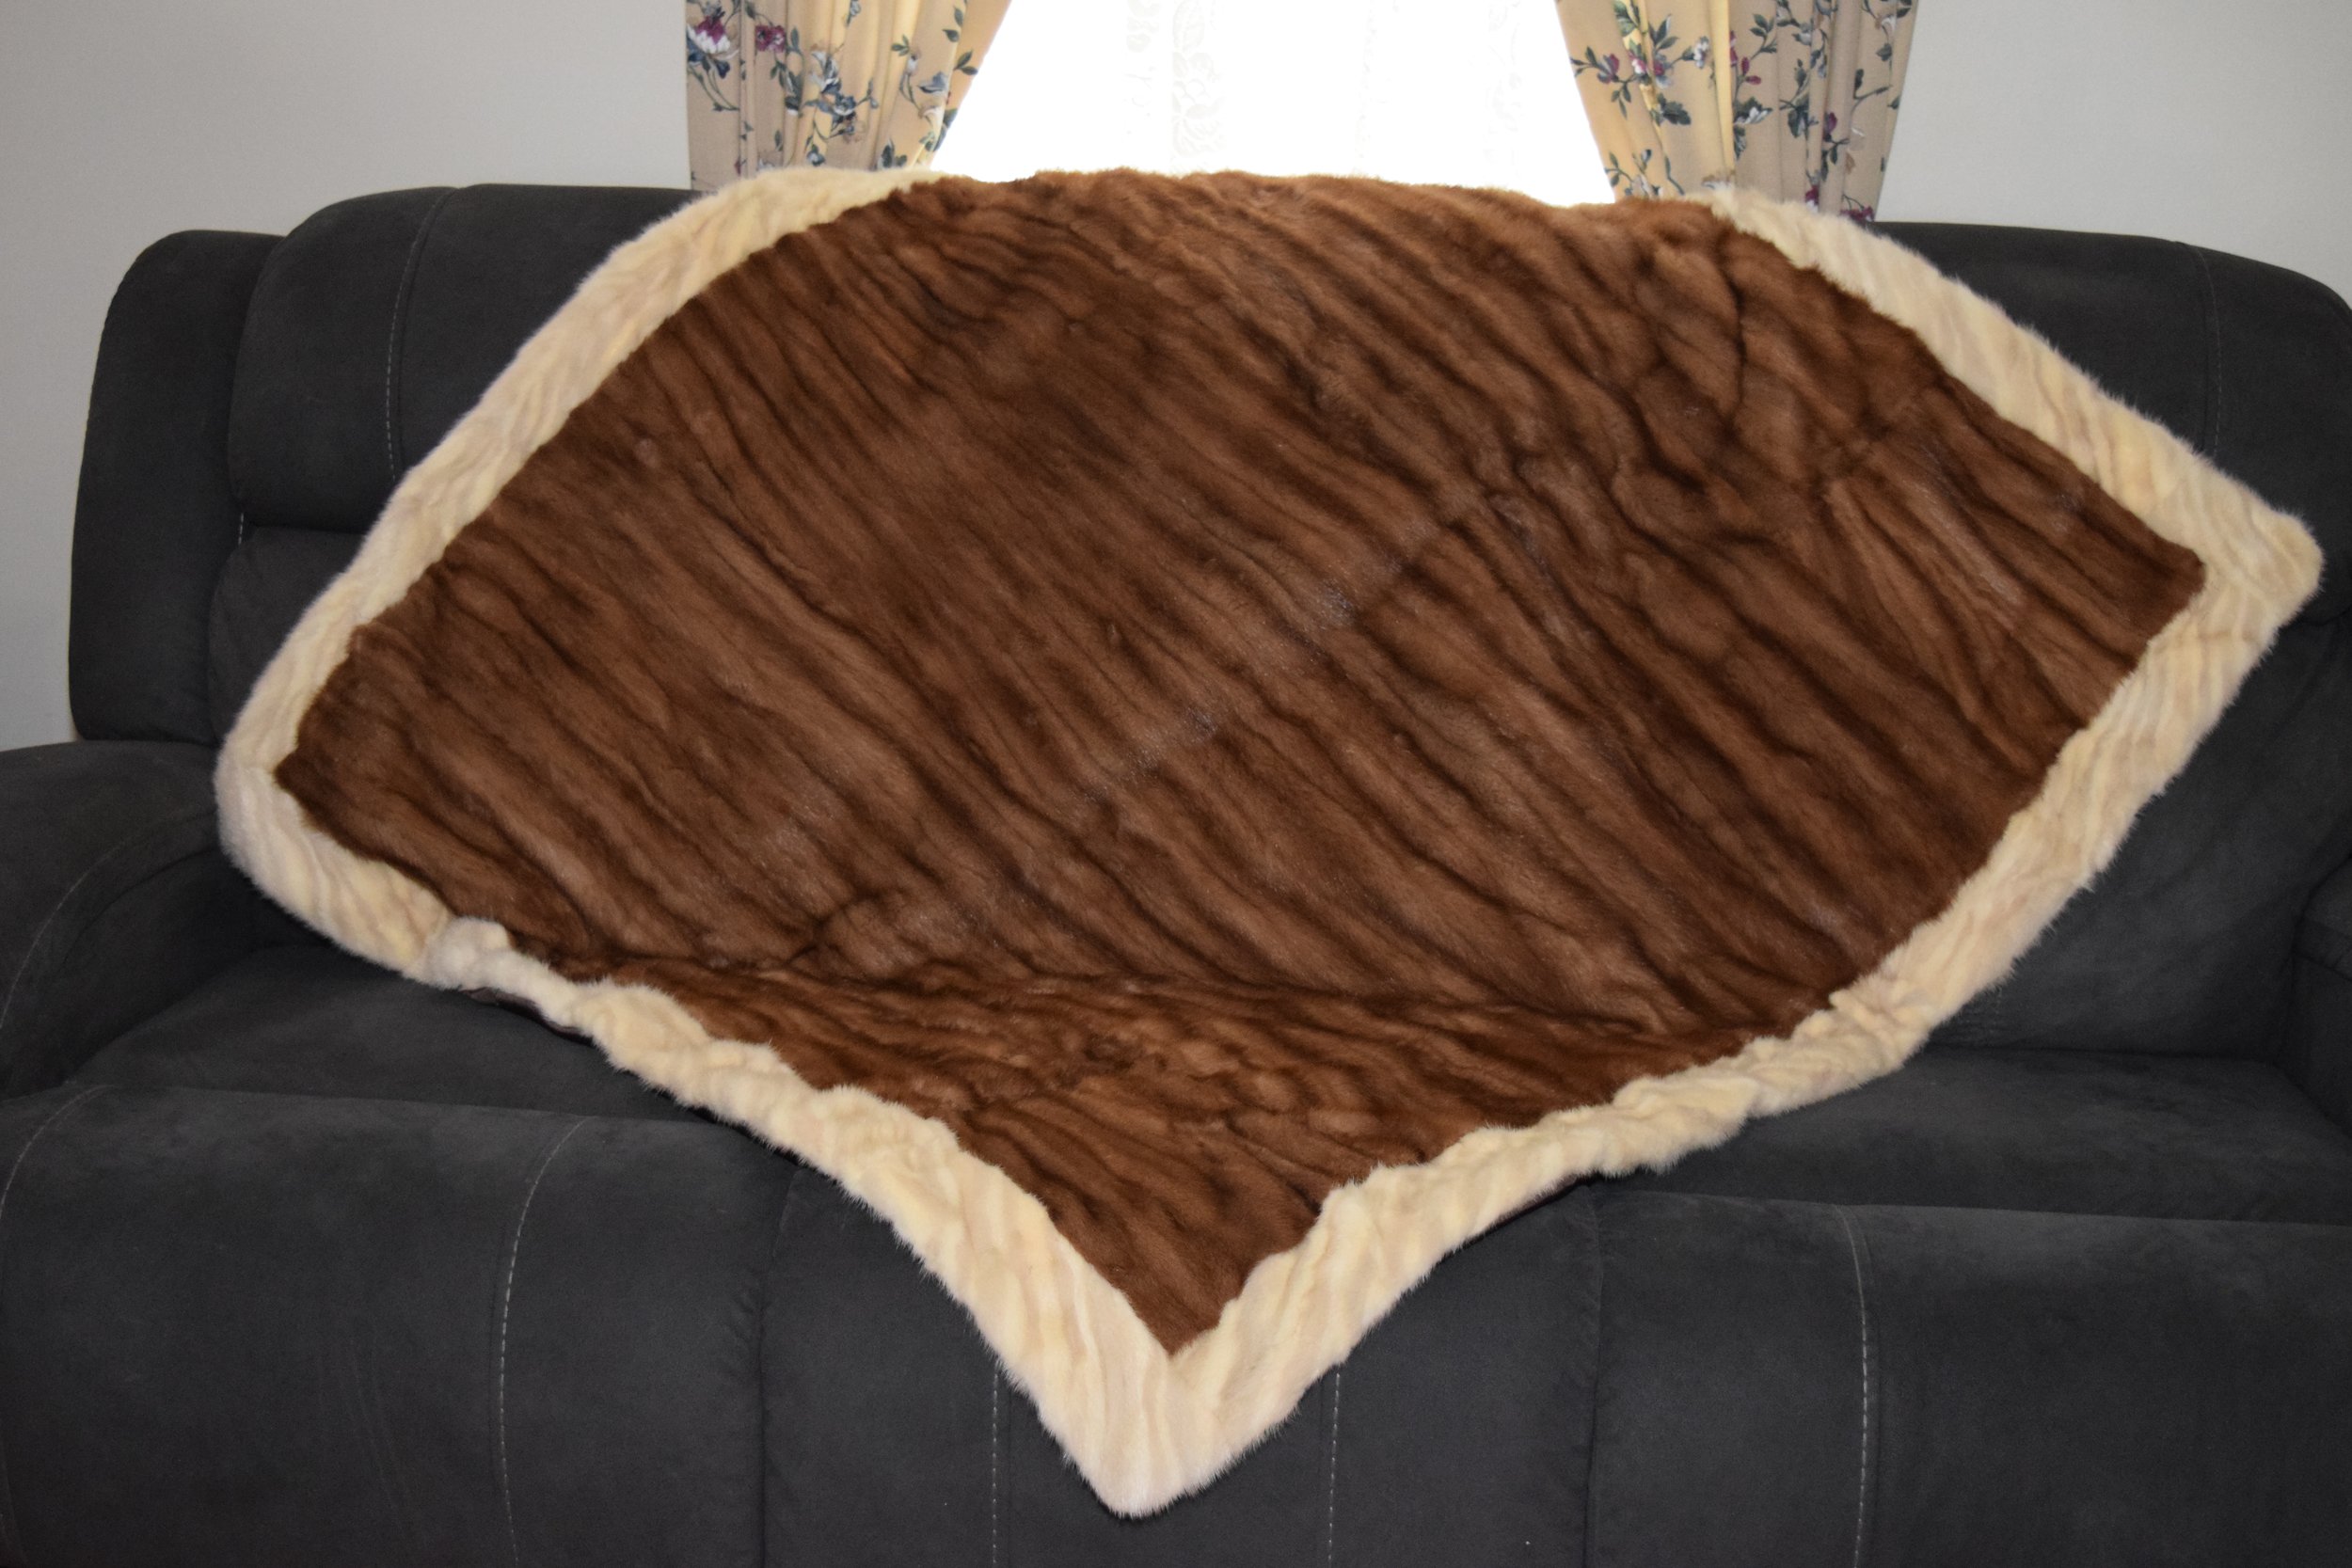
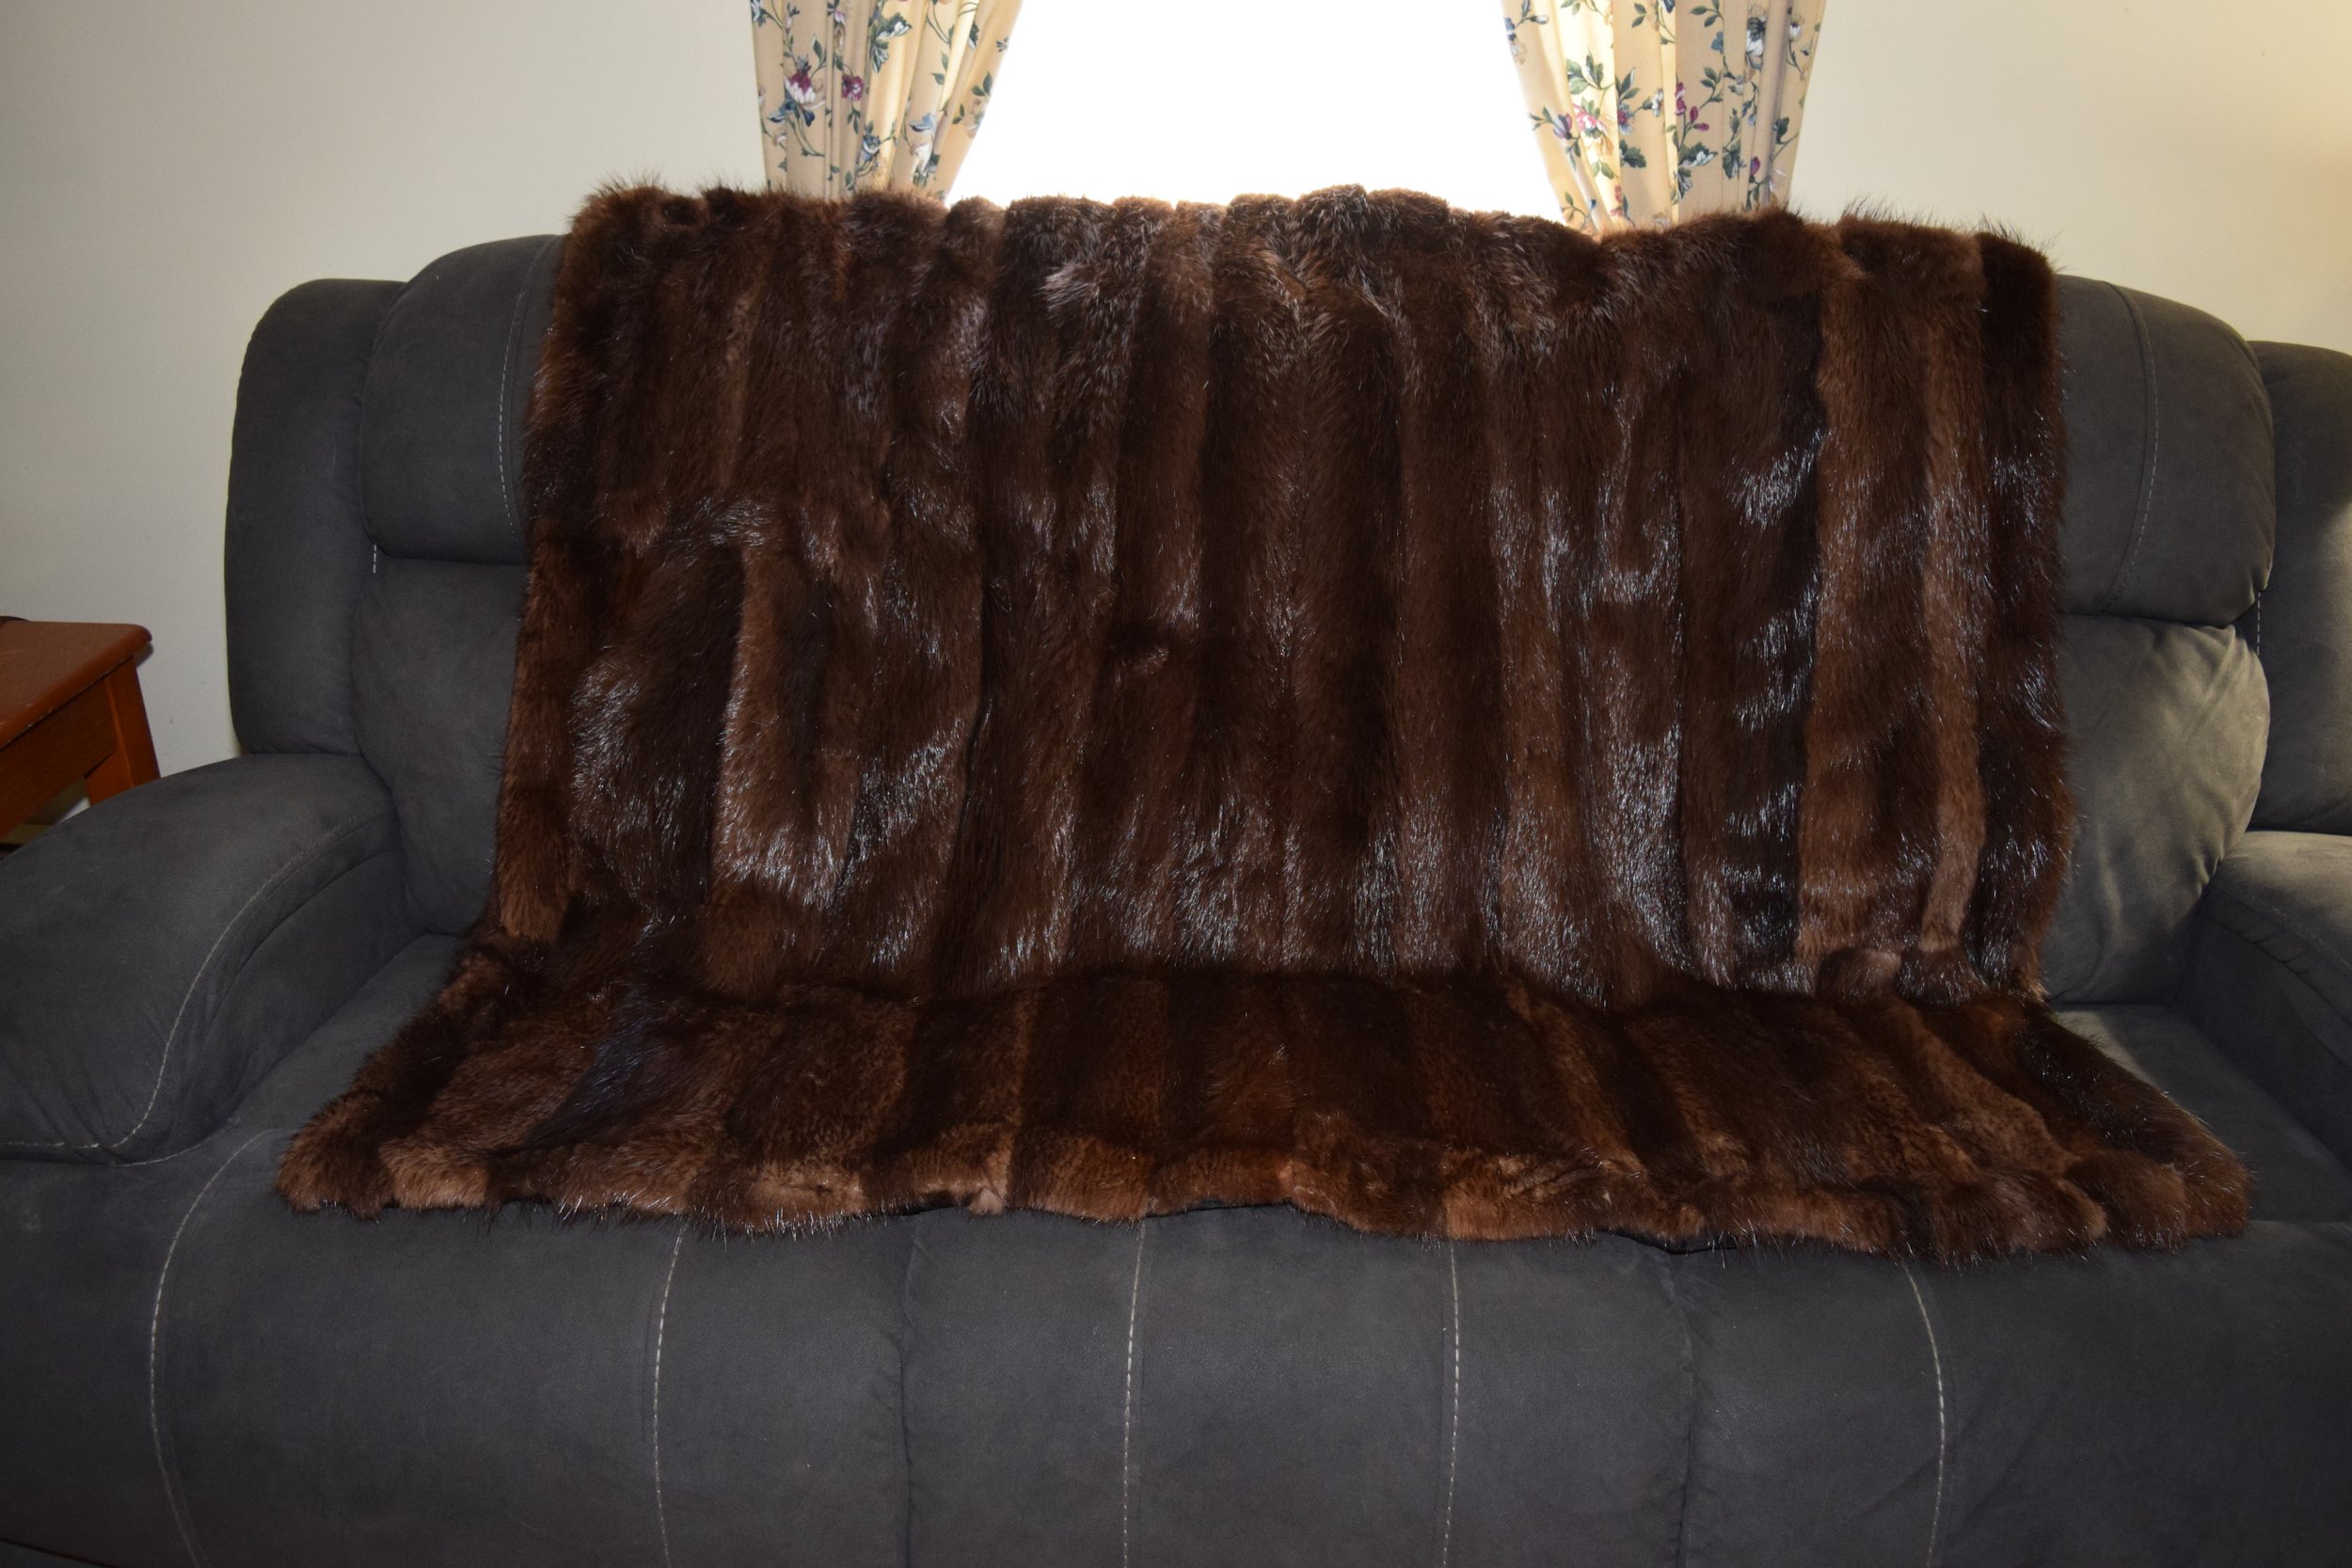
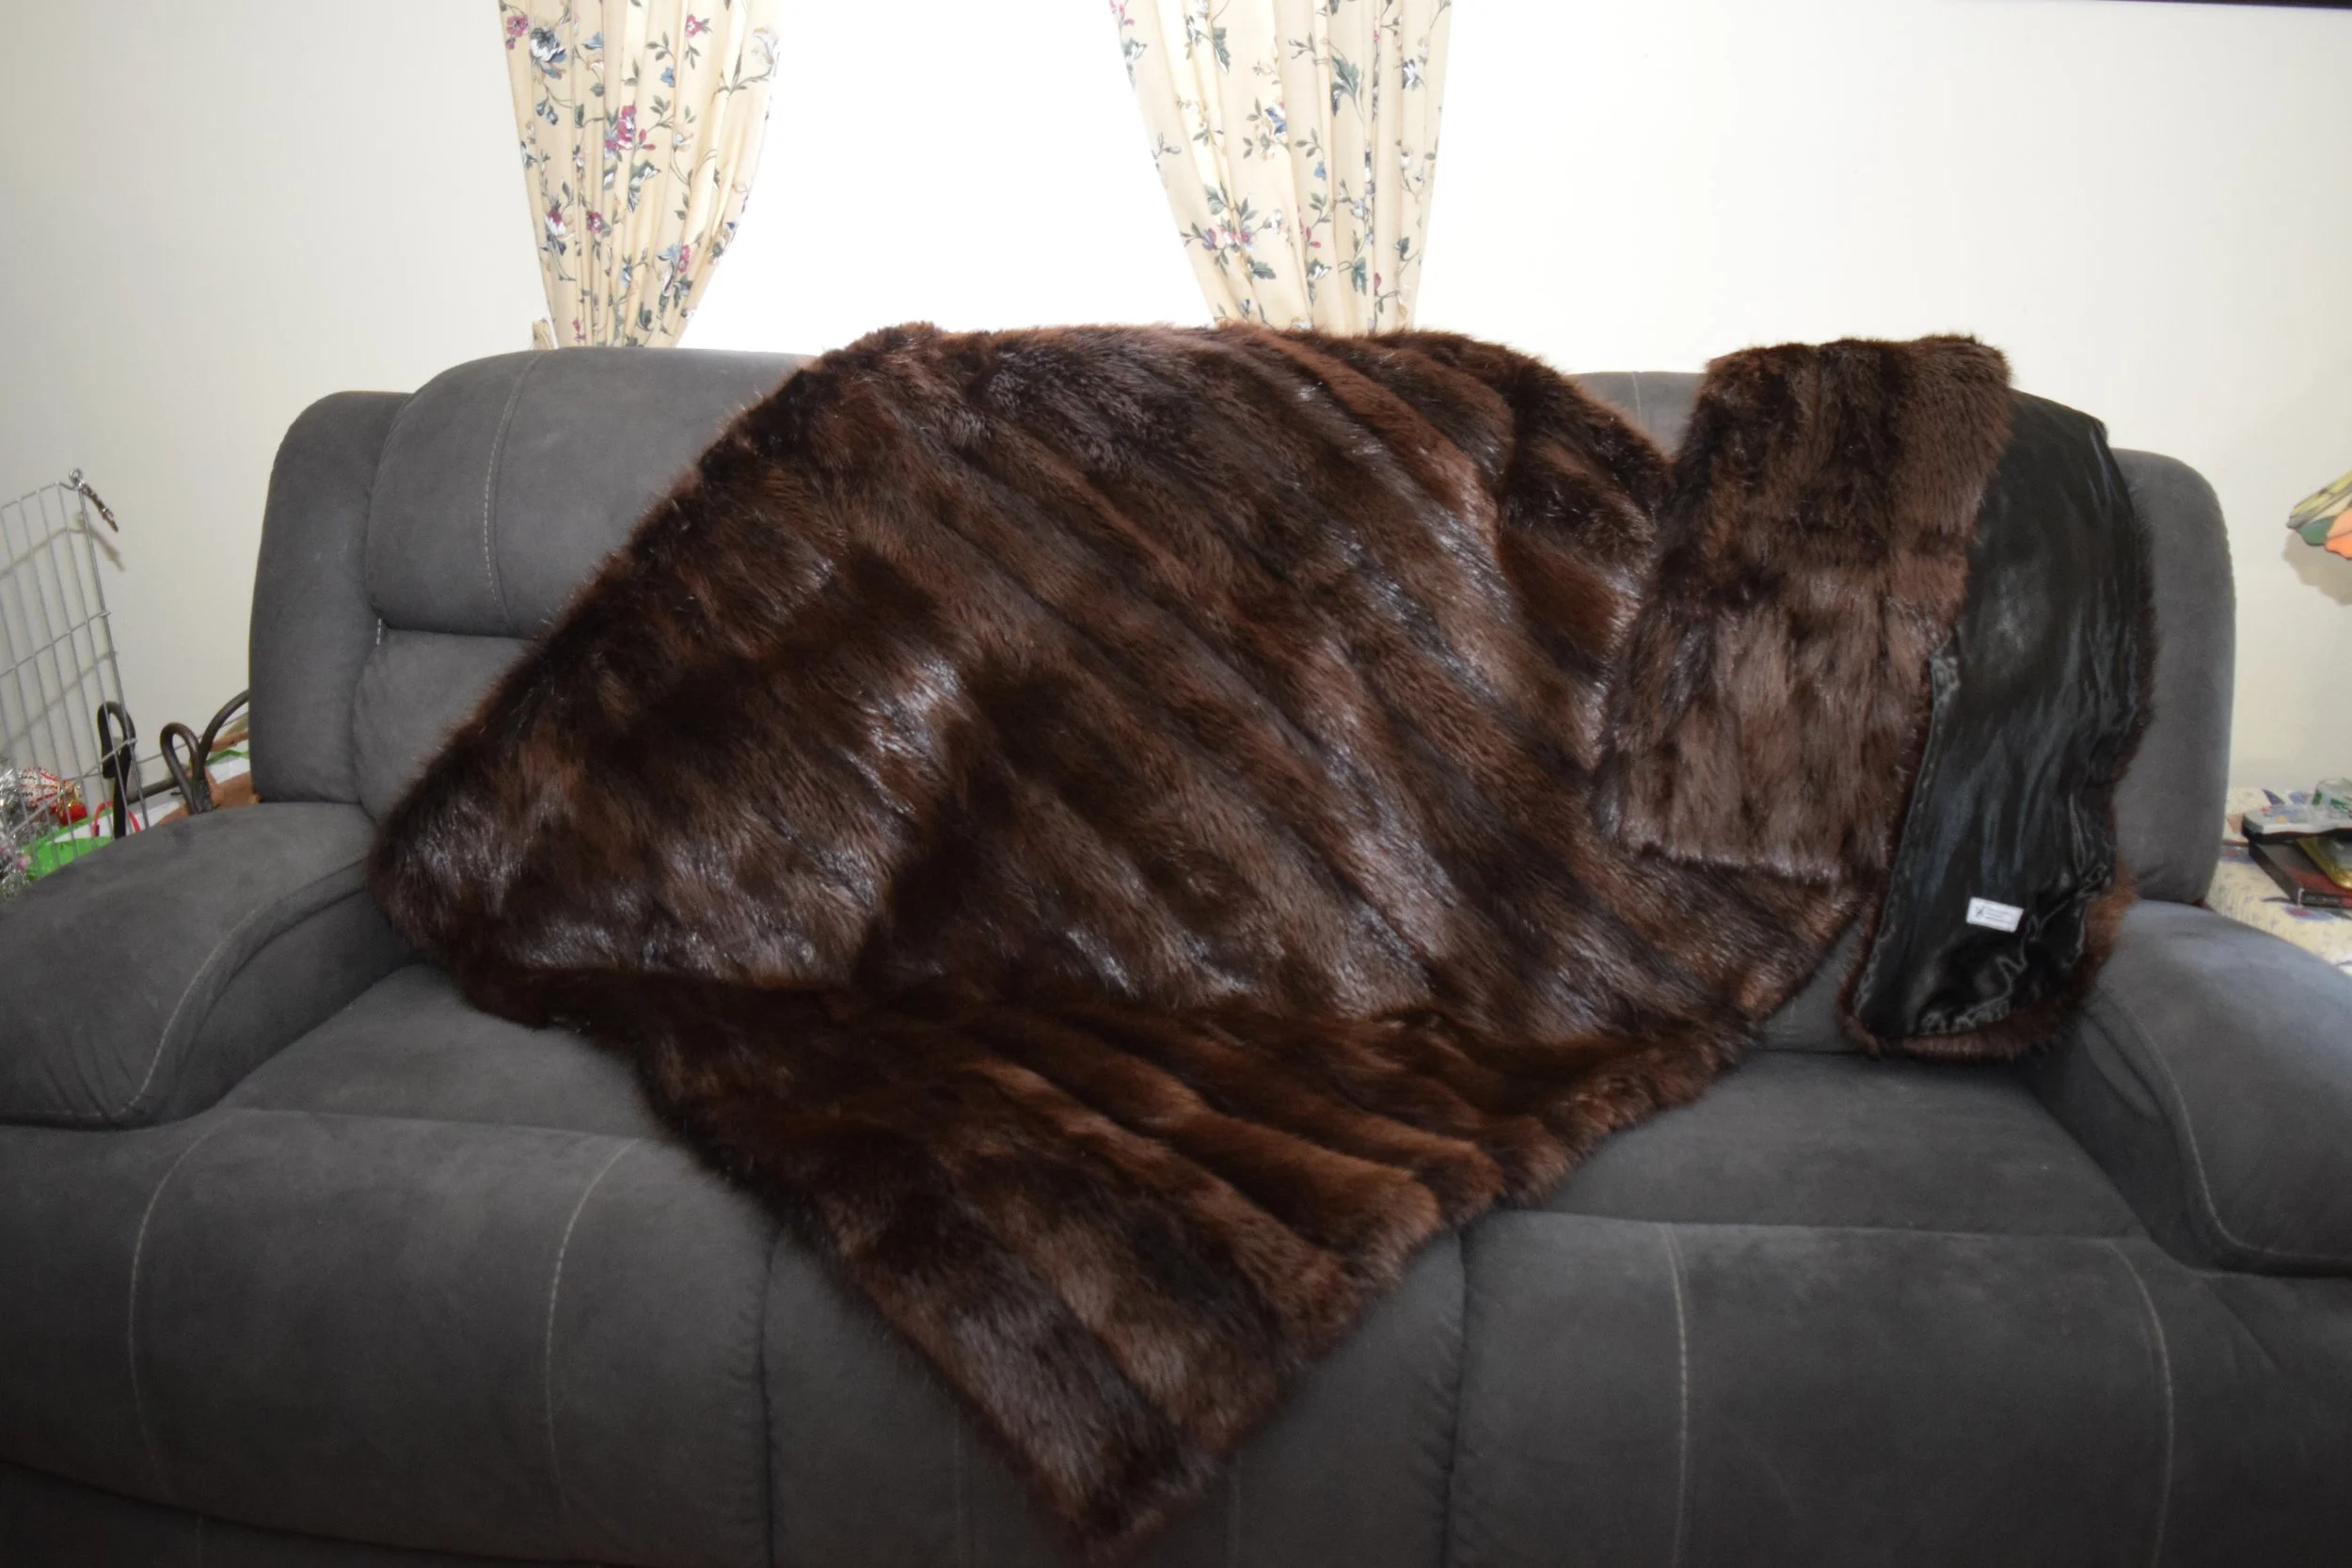
 I gave the customer a few different types of patterns to choose from. The first one was a patchwork blanket made of 12. 5 inch squares. The squares we're mixed in random order. The second blanket was also a patchwork blanket, but instead of random squares they were placed in a repeating order. The next pattern was a pattern made of 7 vertical strips with a patchwork like border.   The strips were 84 inches long. Ultimately this was the pattern that the customer chose.

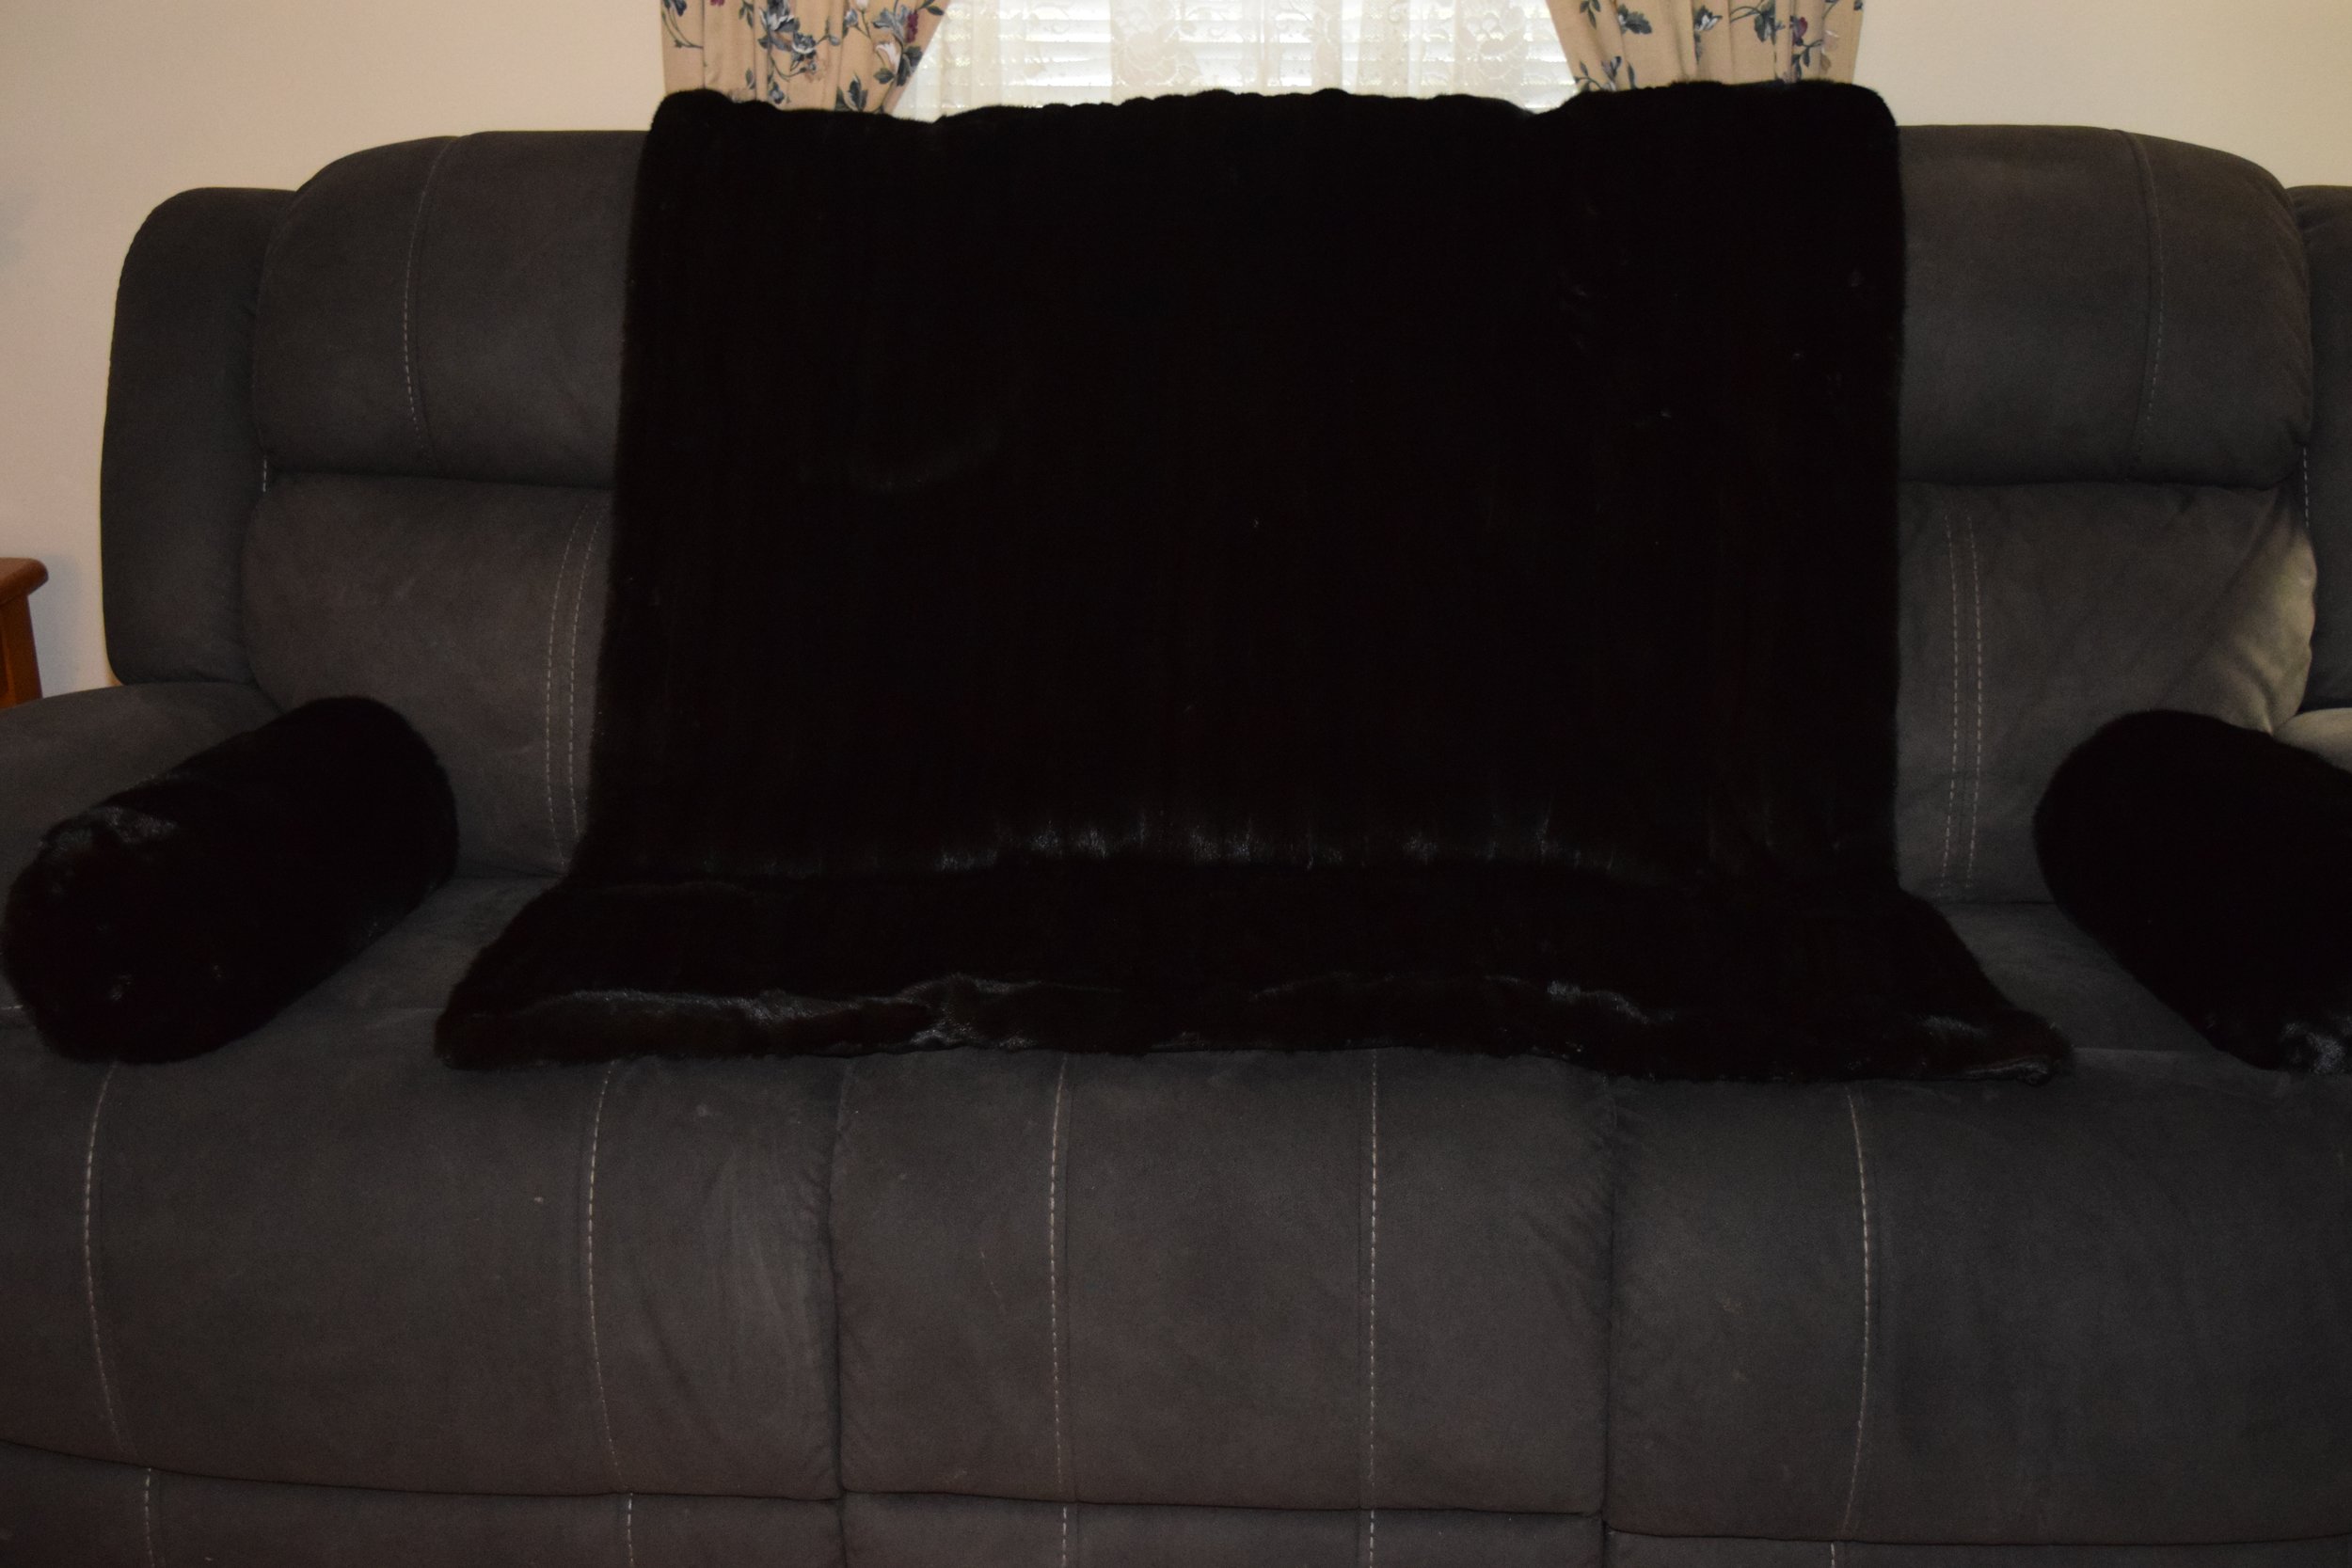
 The repeat pattern is Brown Fox-White Mink- Silver Fox-Silver Mink- Silver Fox – White Mink – Brown Fox. All Strips were 12.5 by 84, except for the center panel, which was 8.5 by 84.  Just not enough Silver Mink  to make the 12.5 strip.

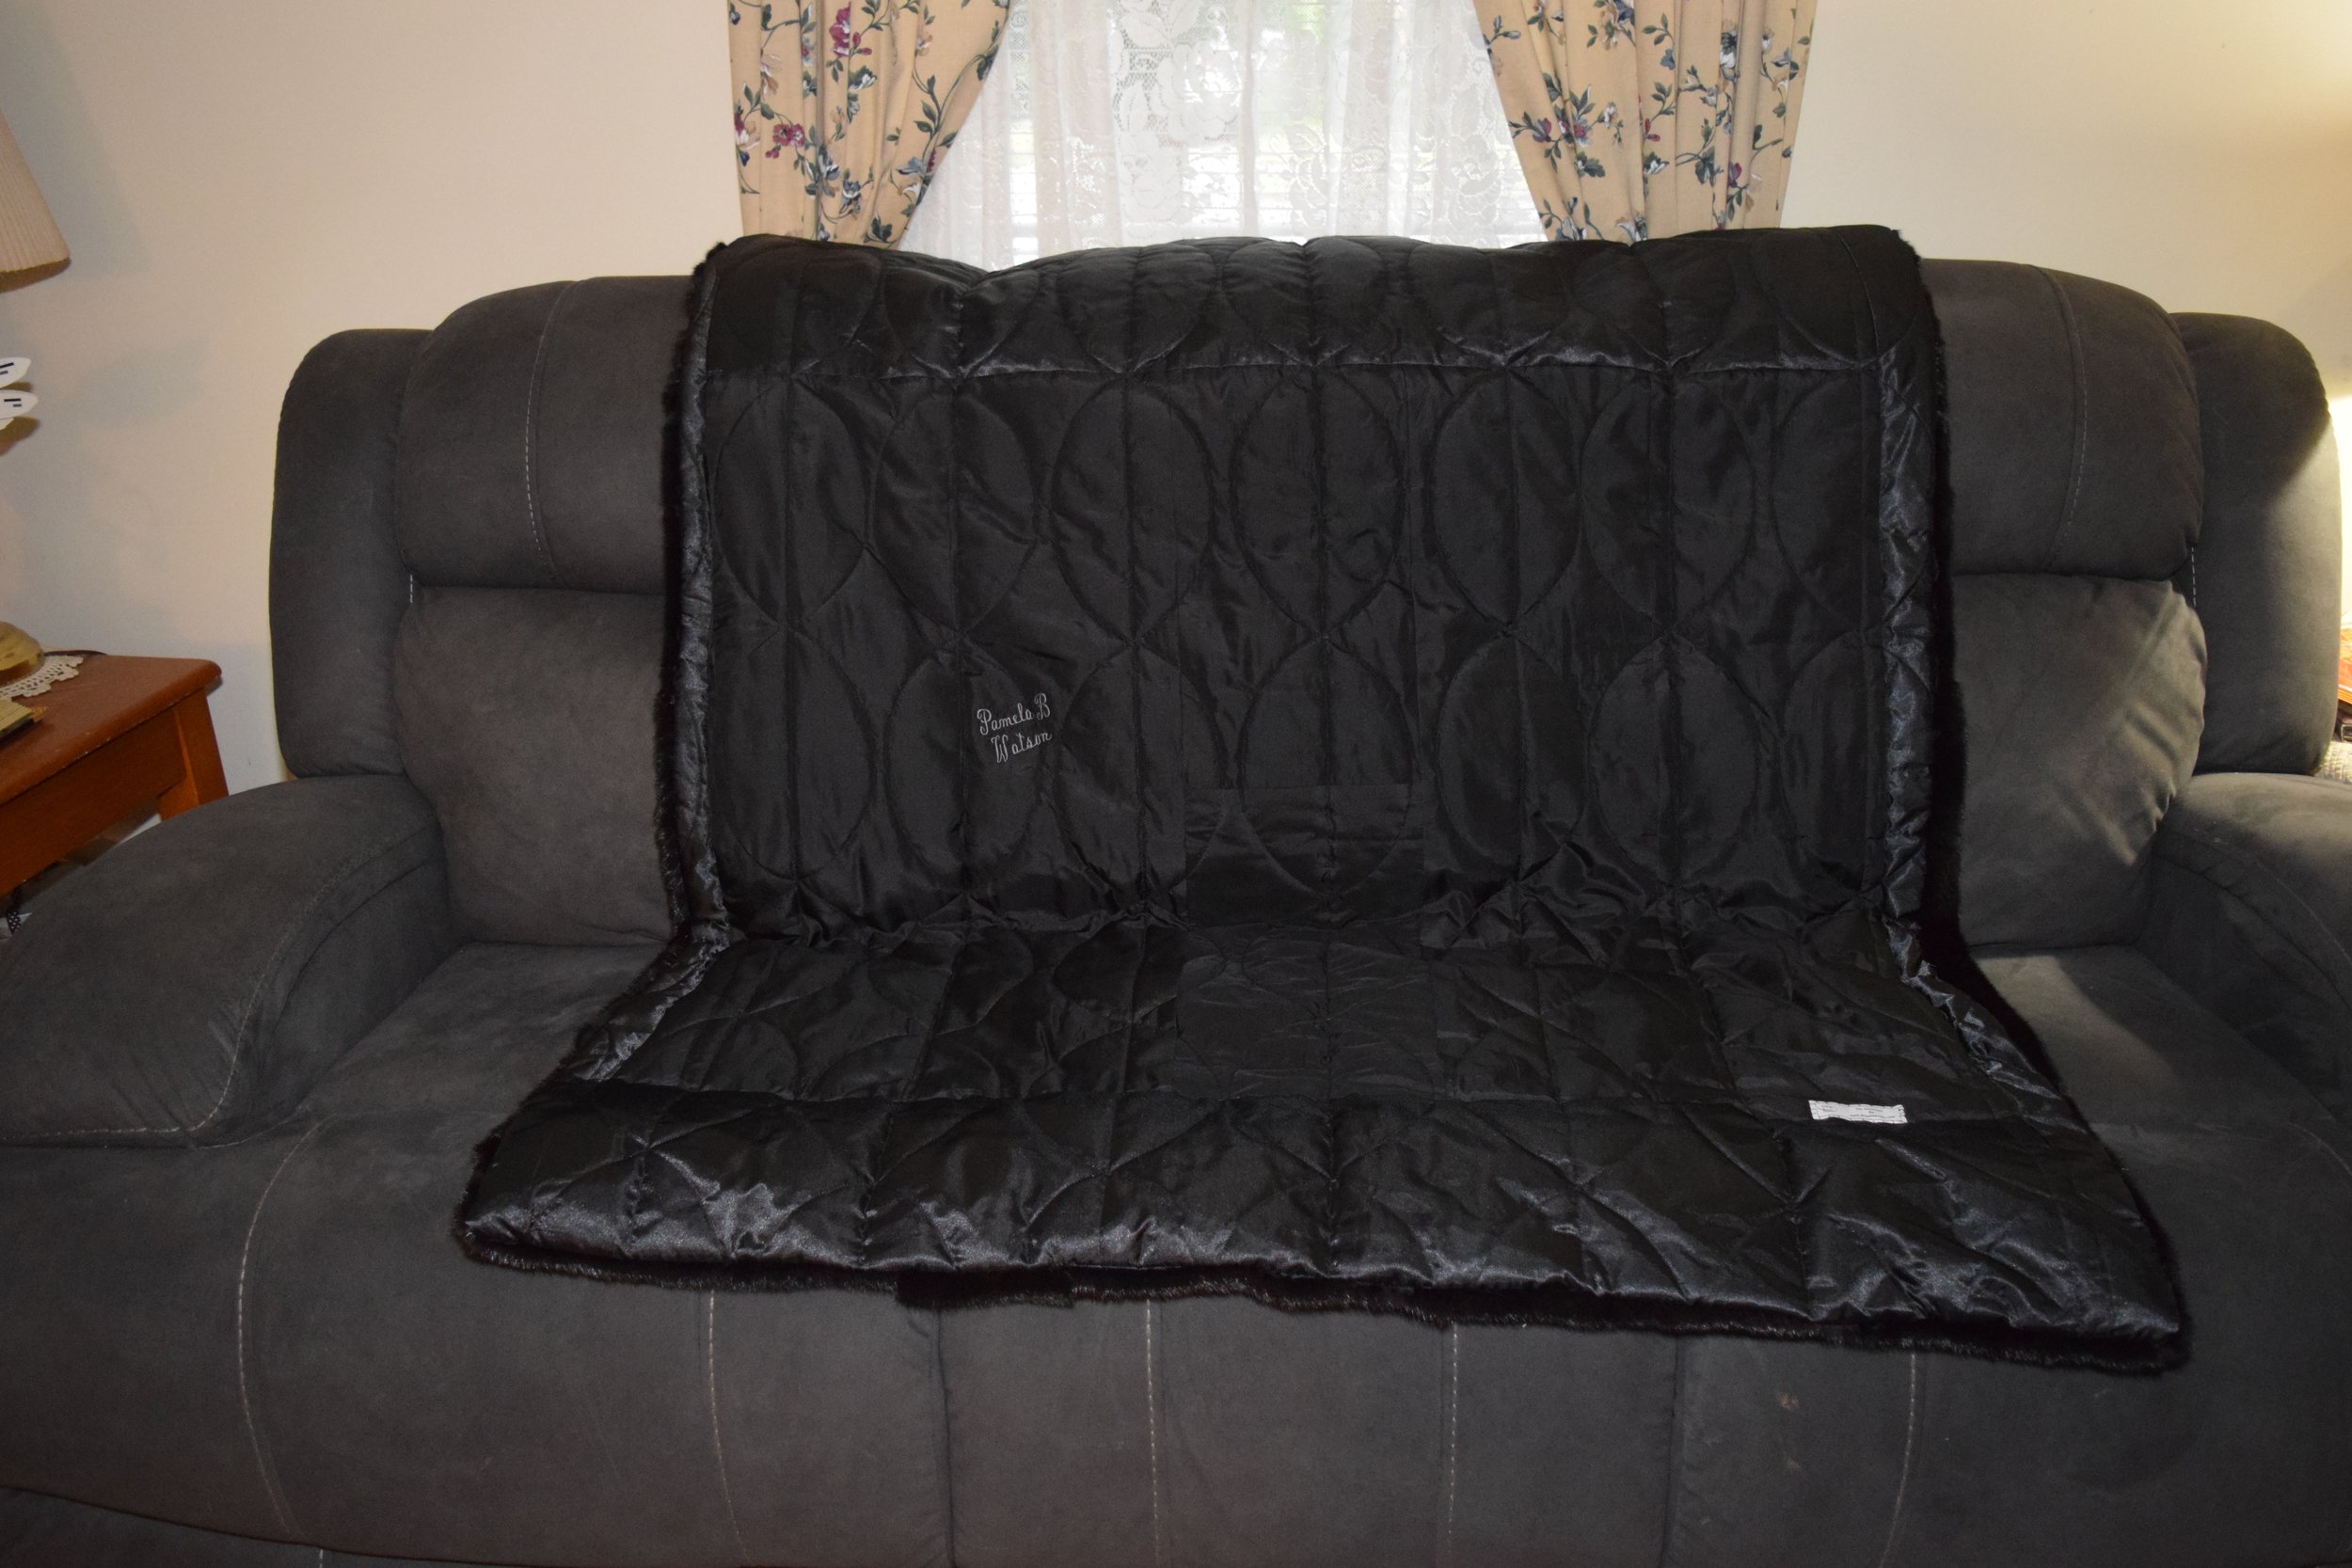
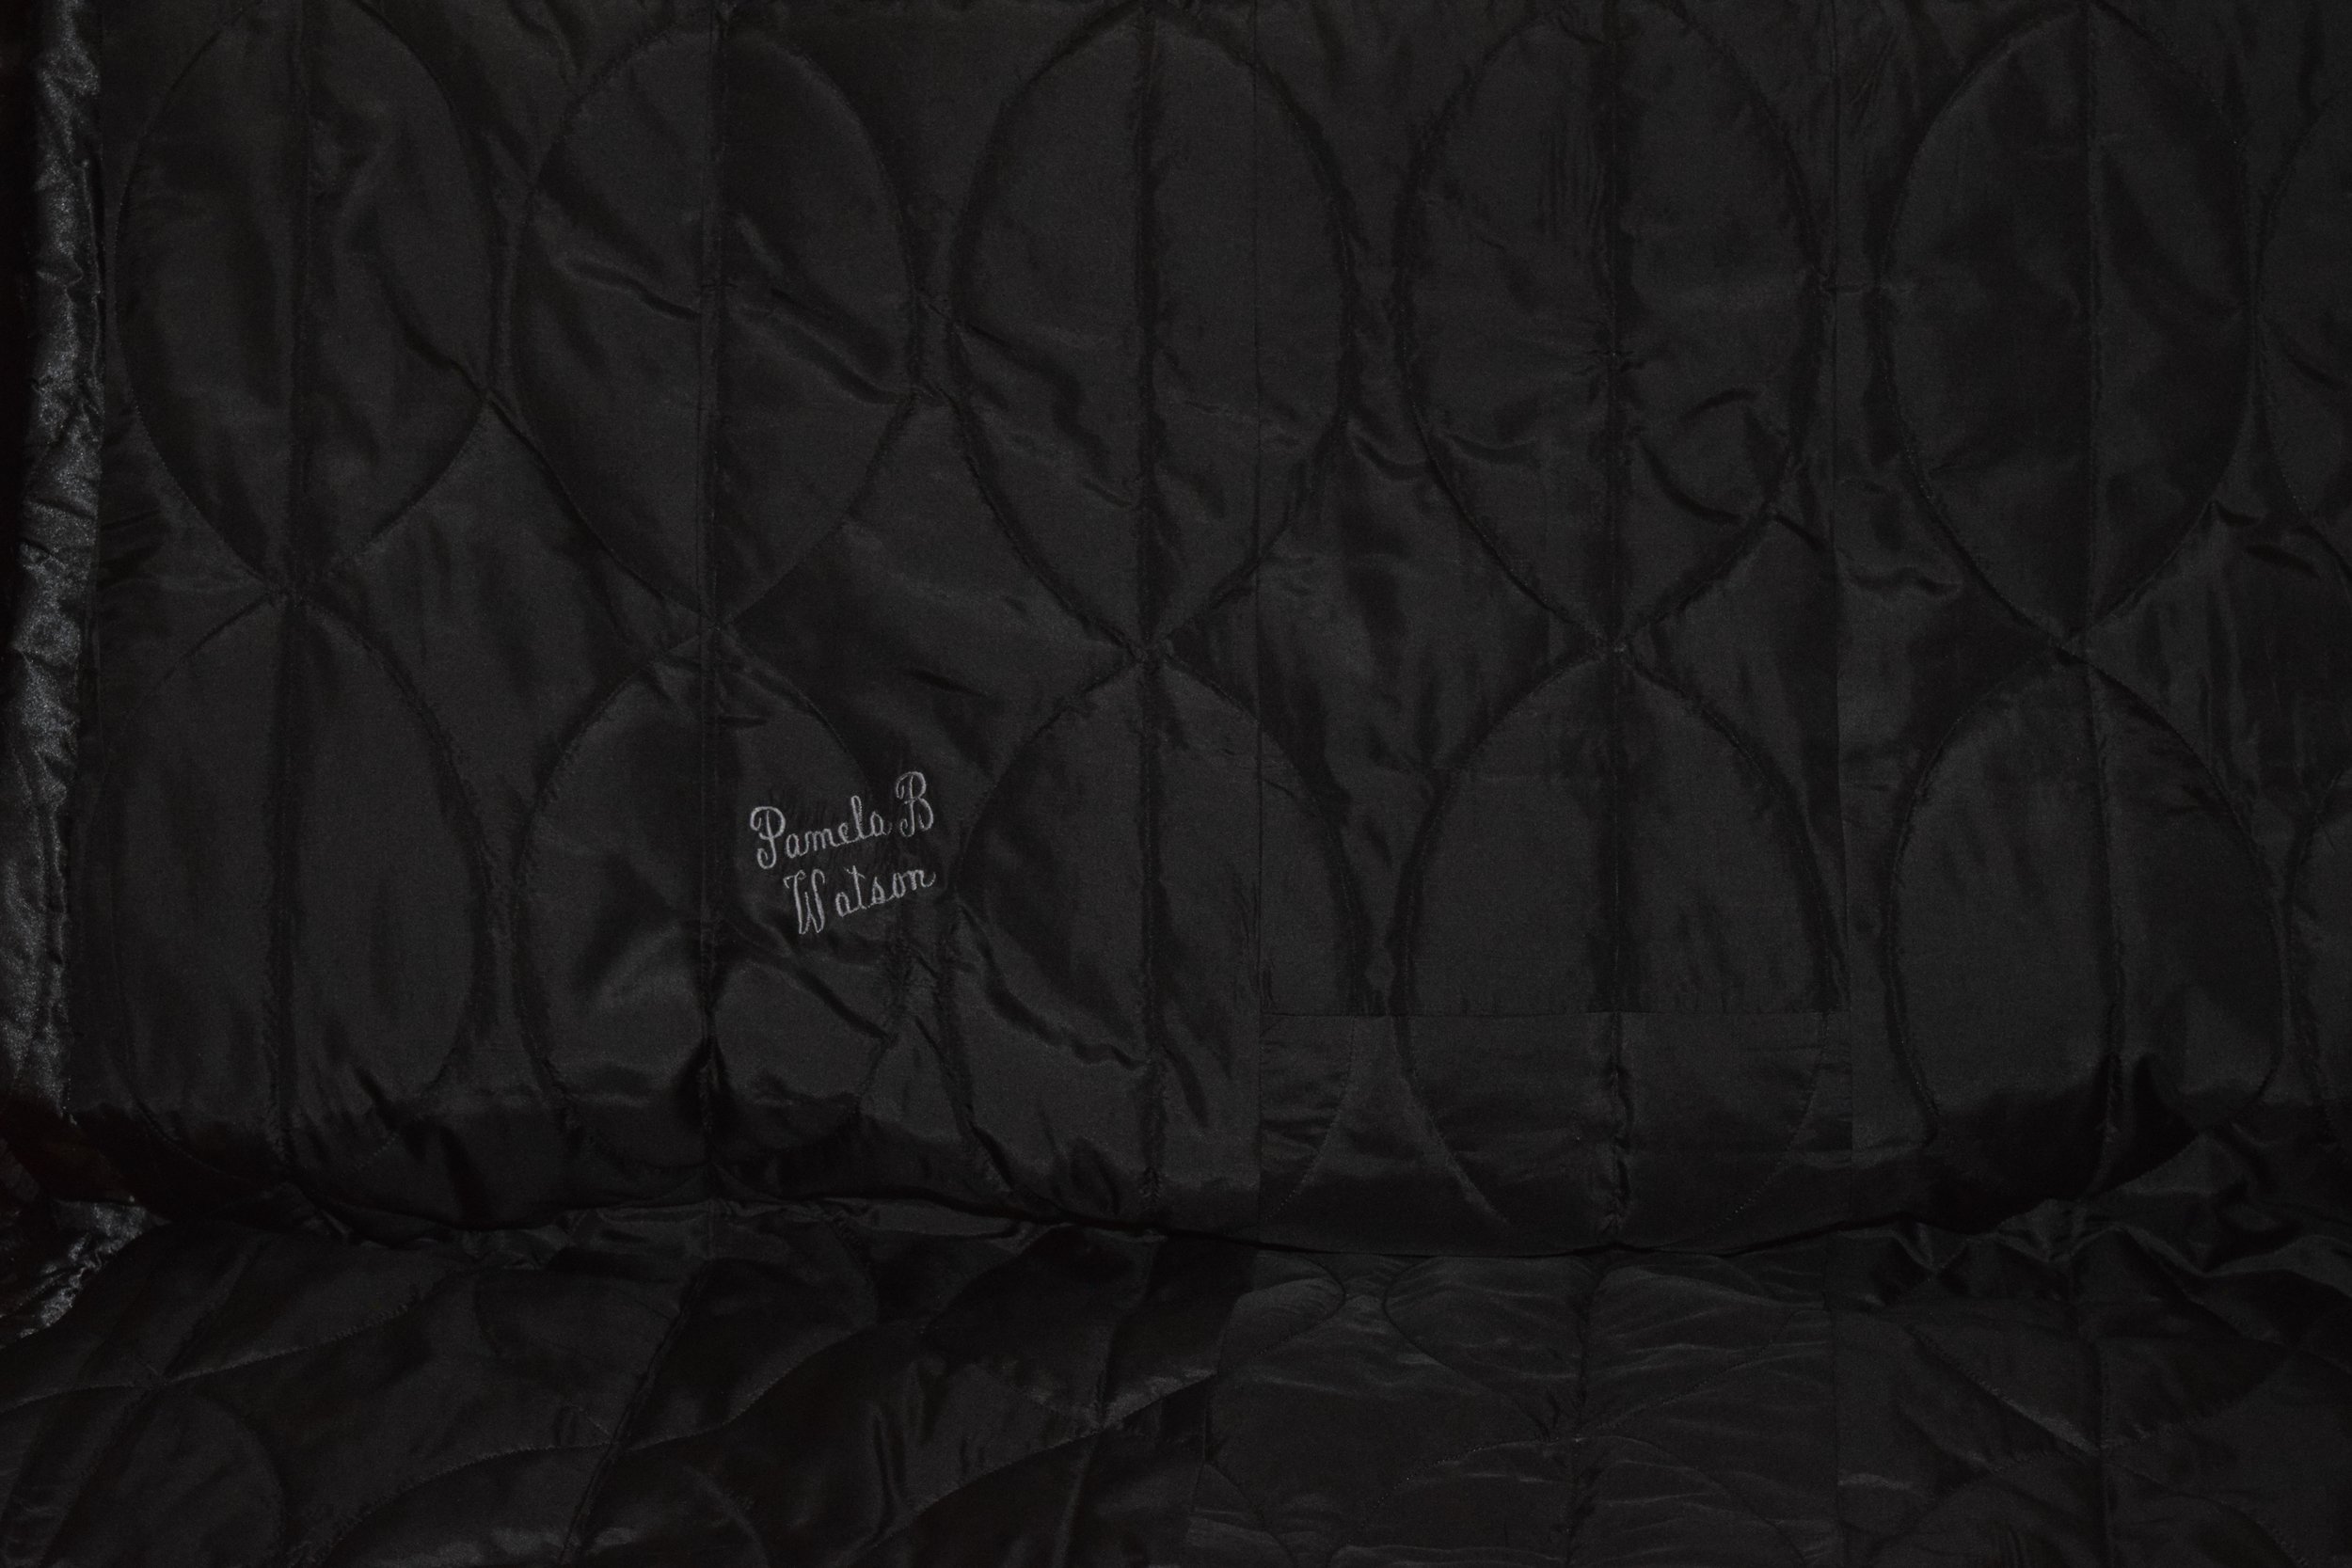
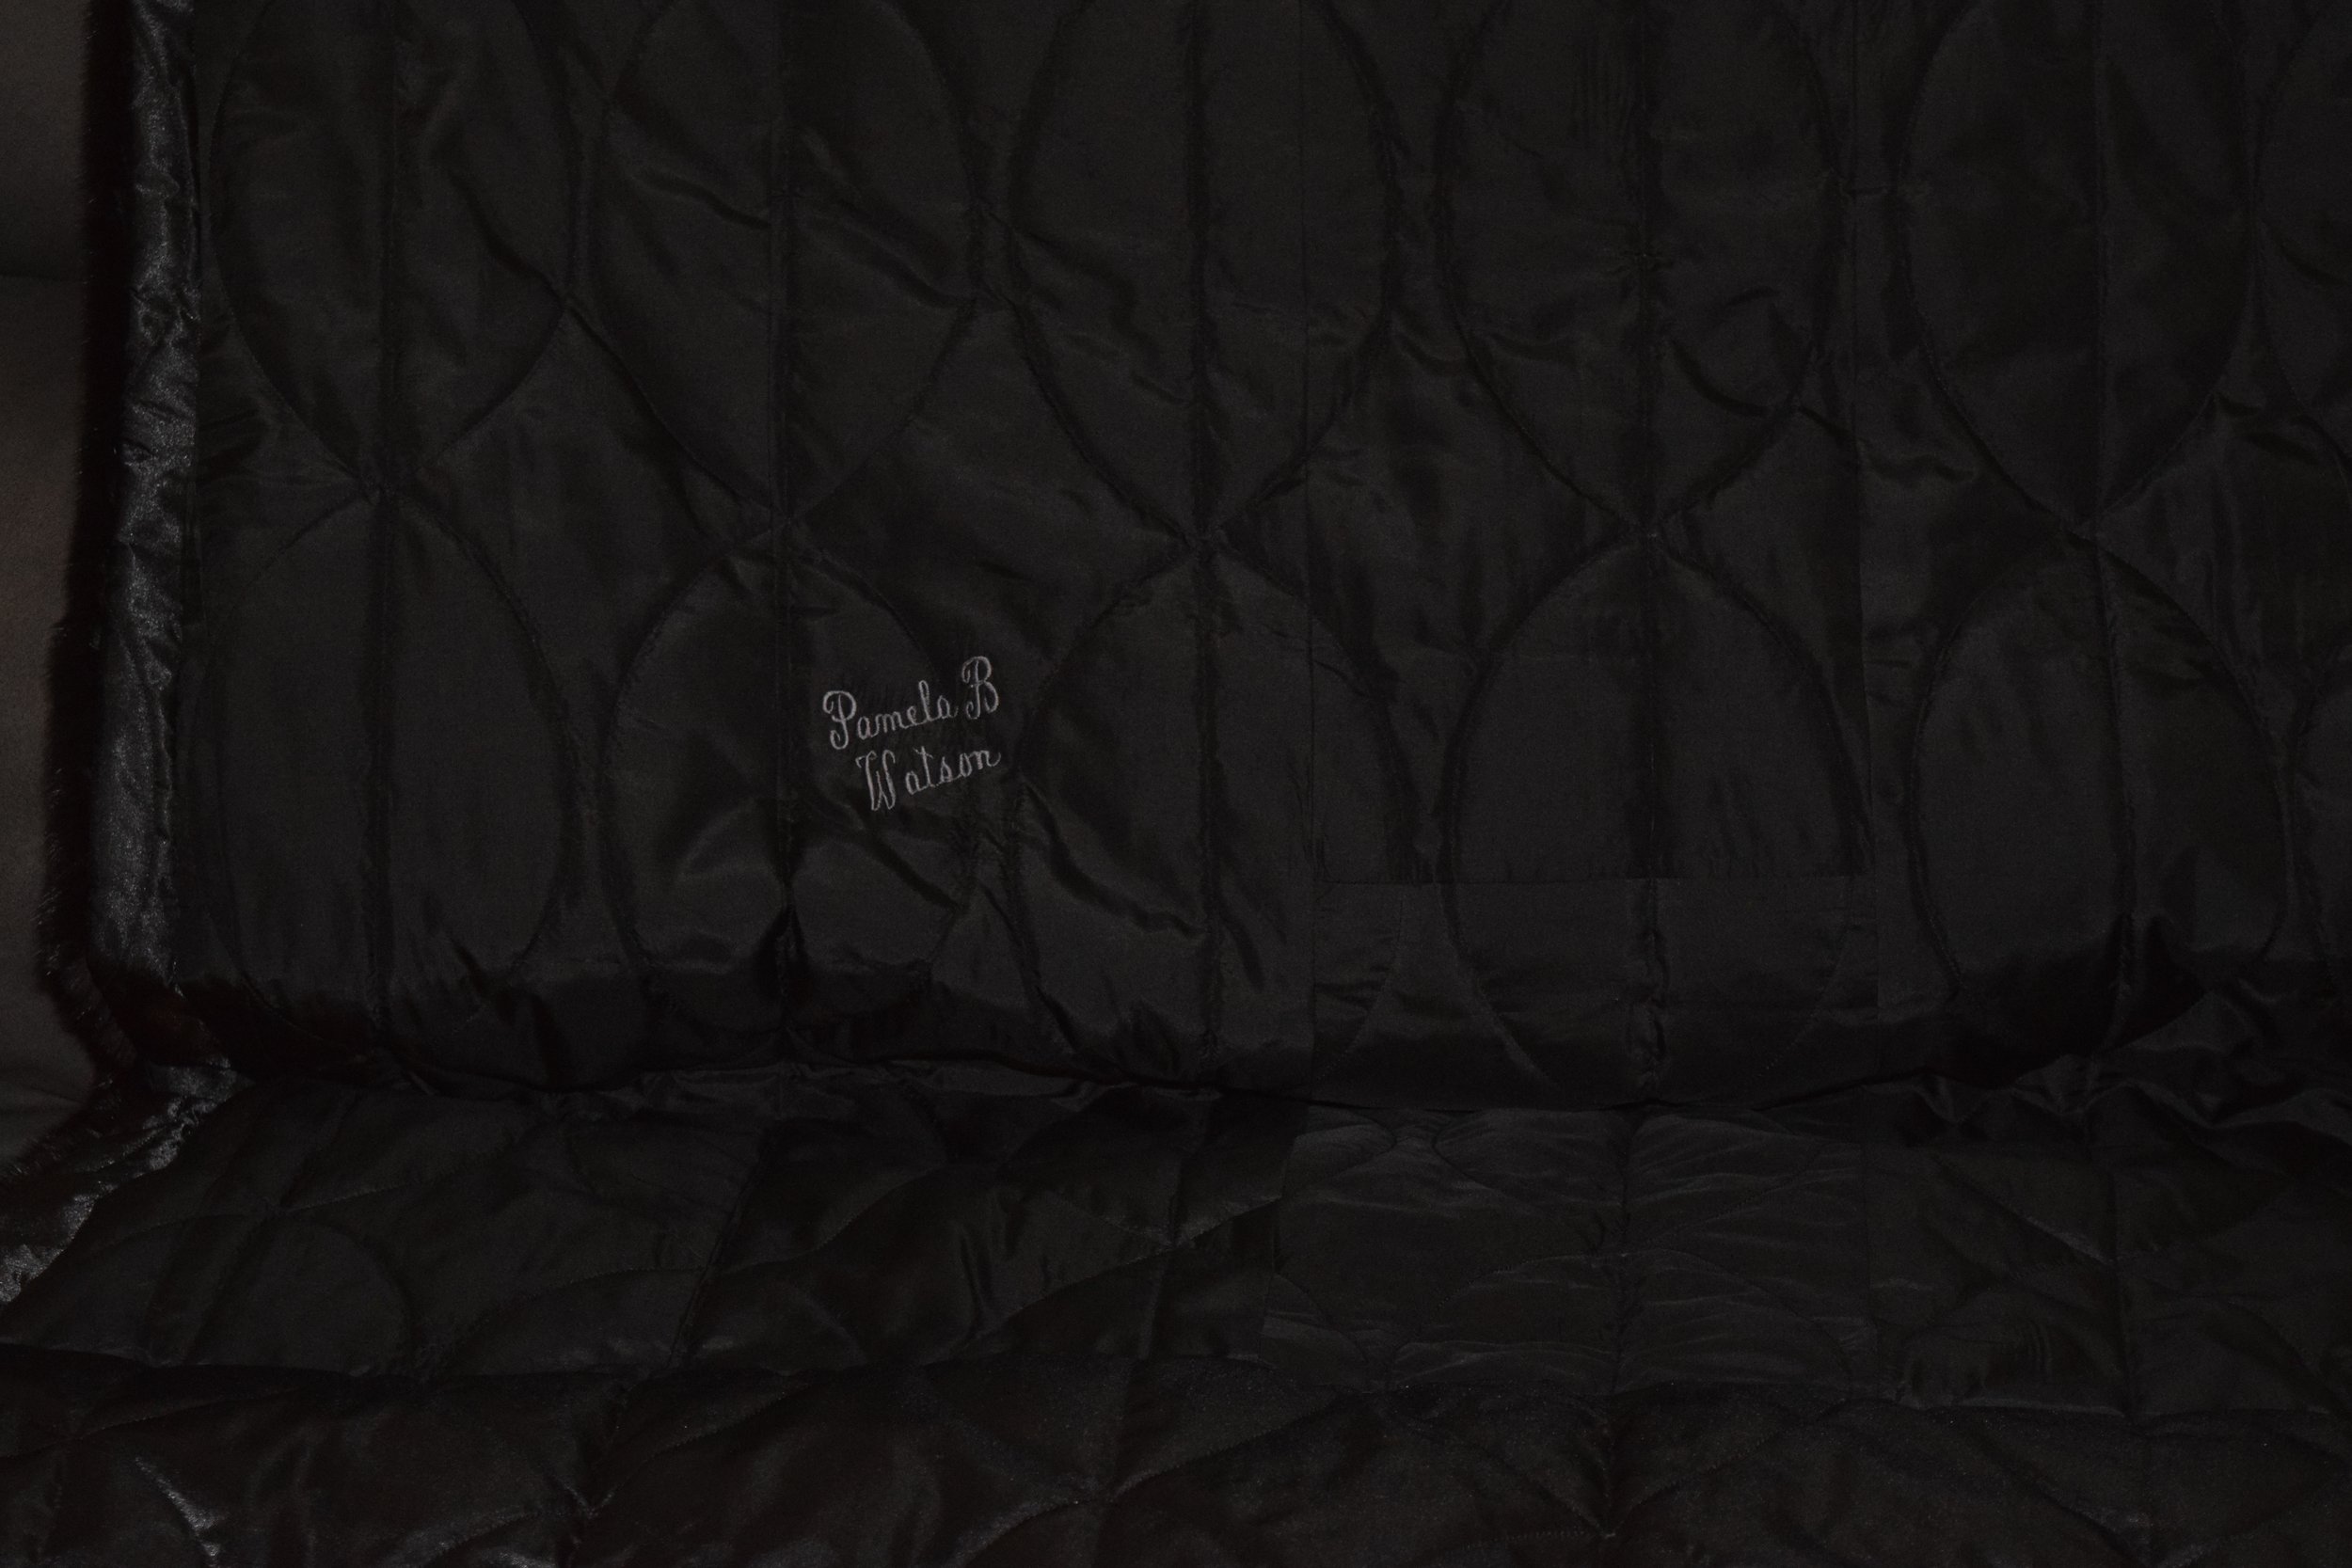
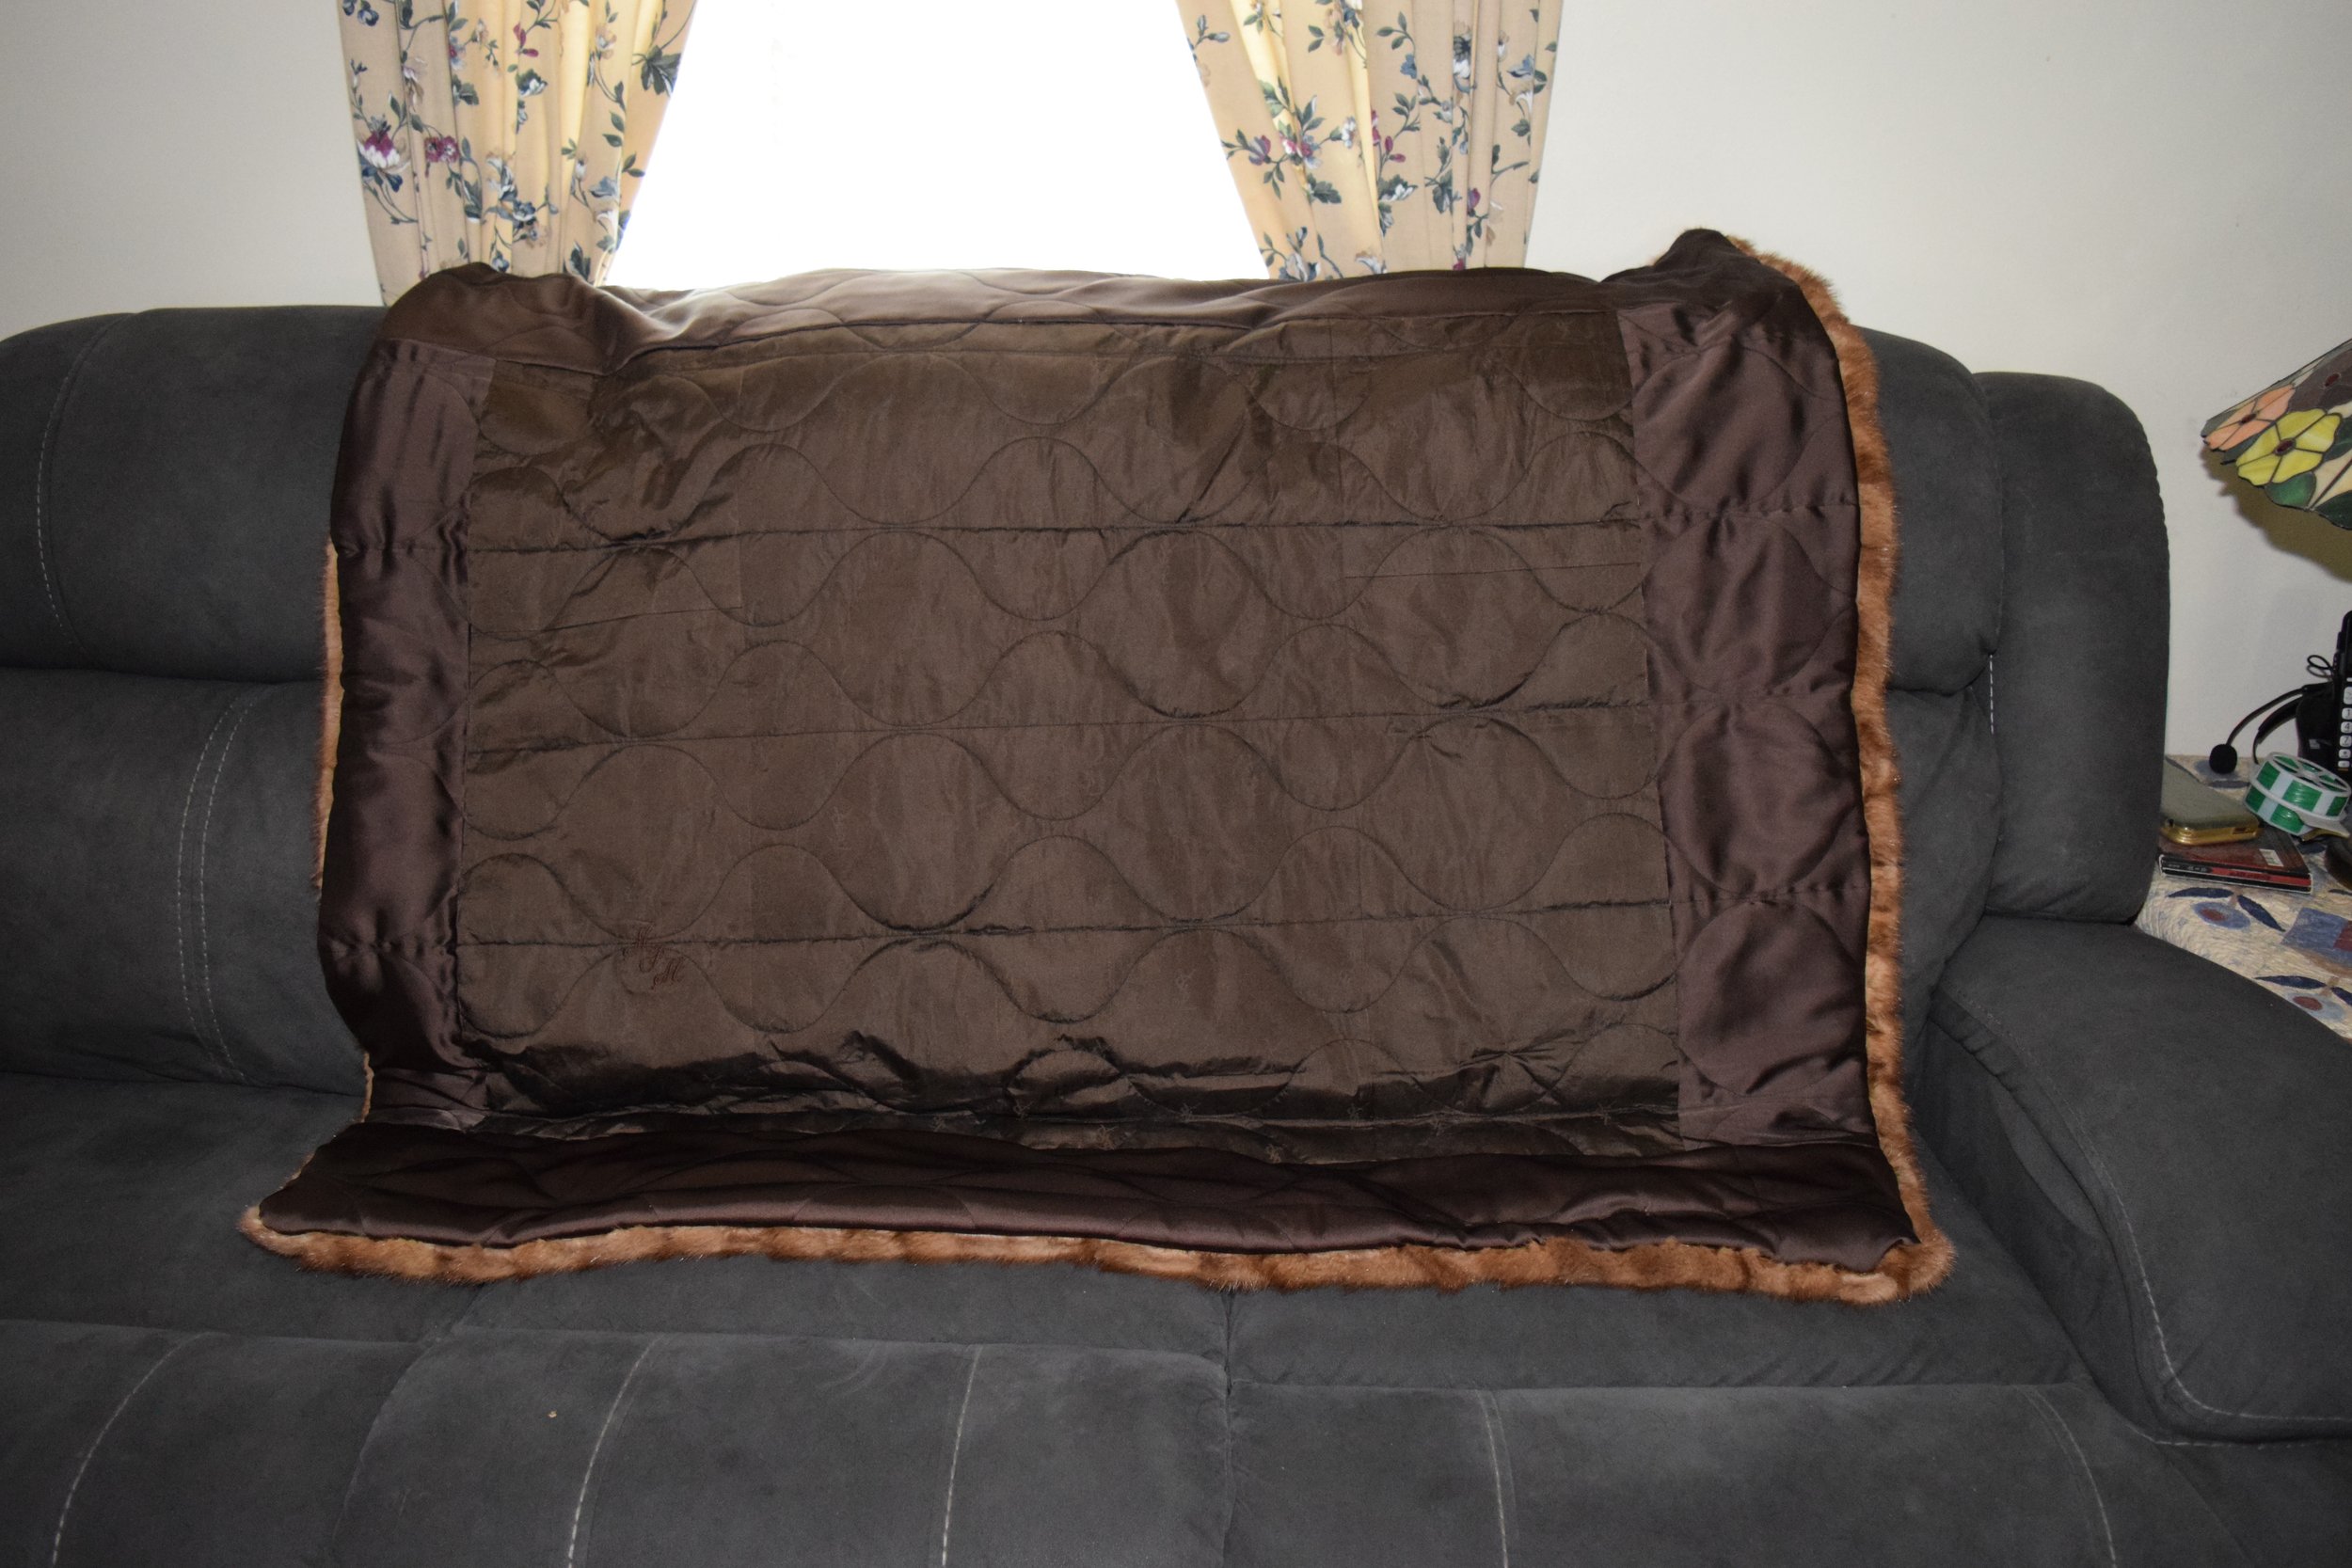
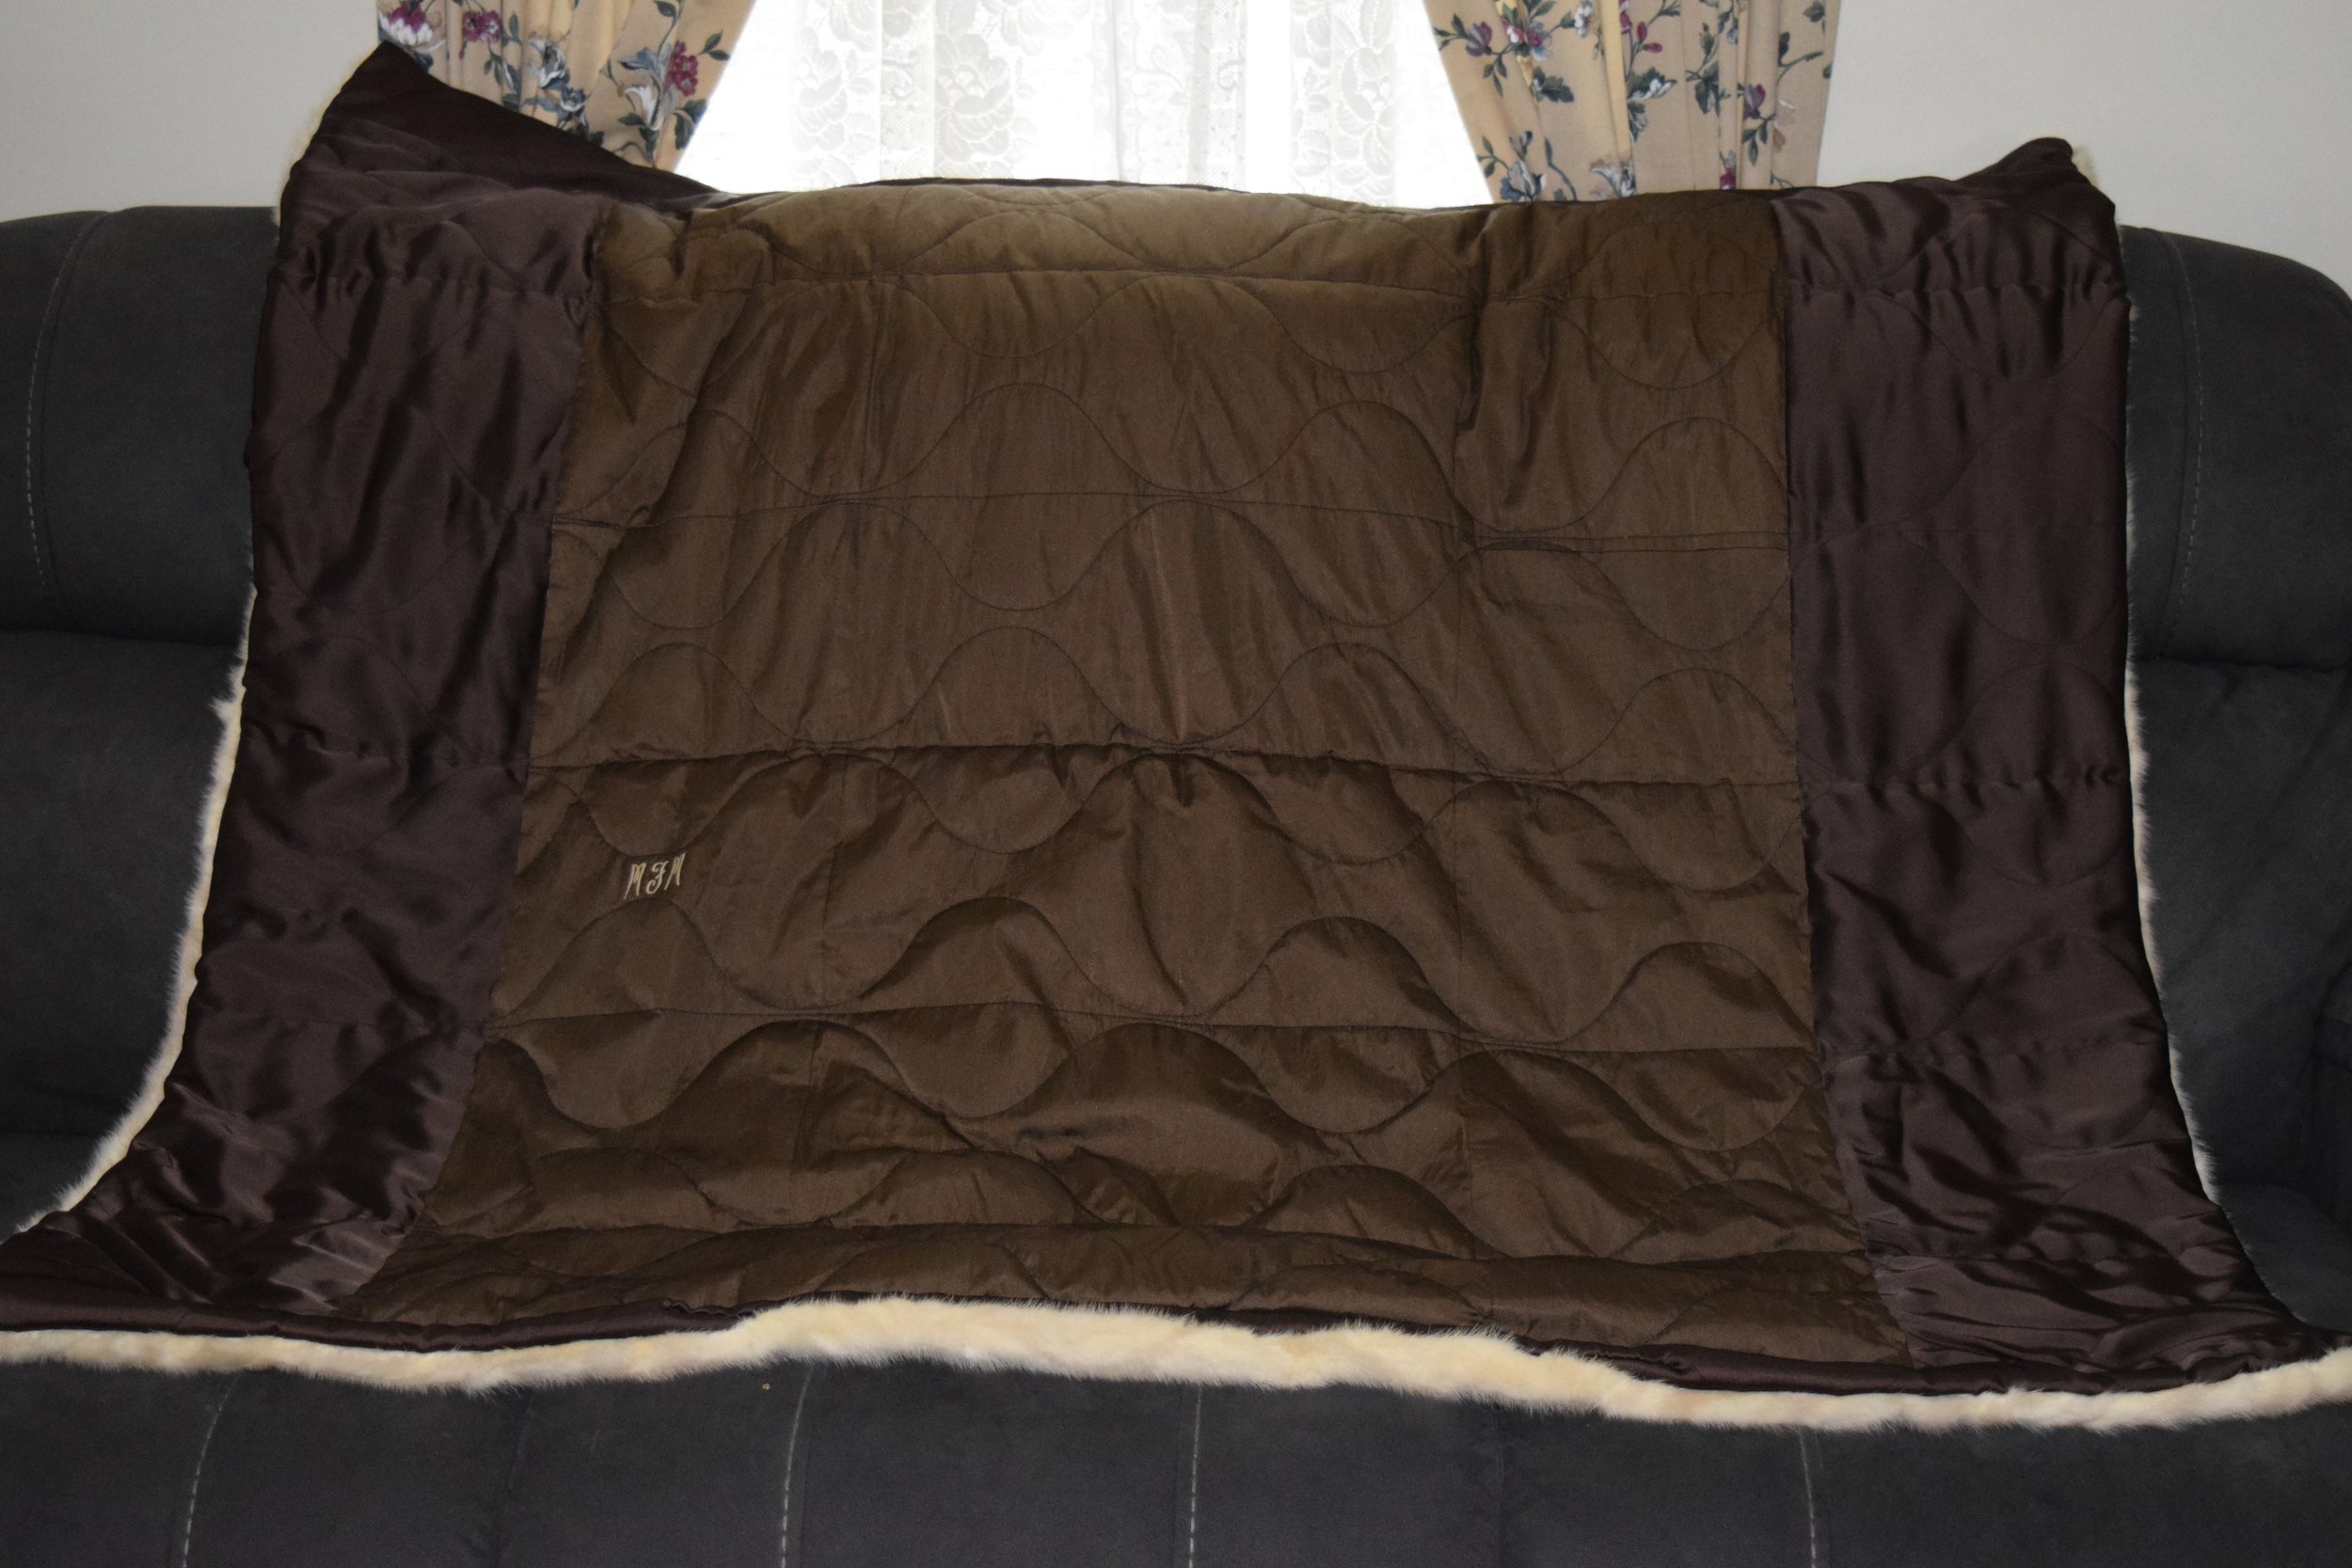
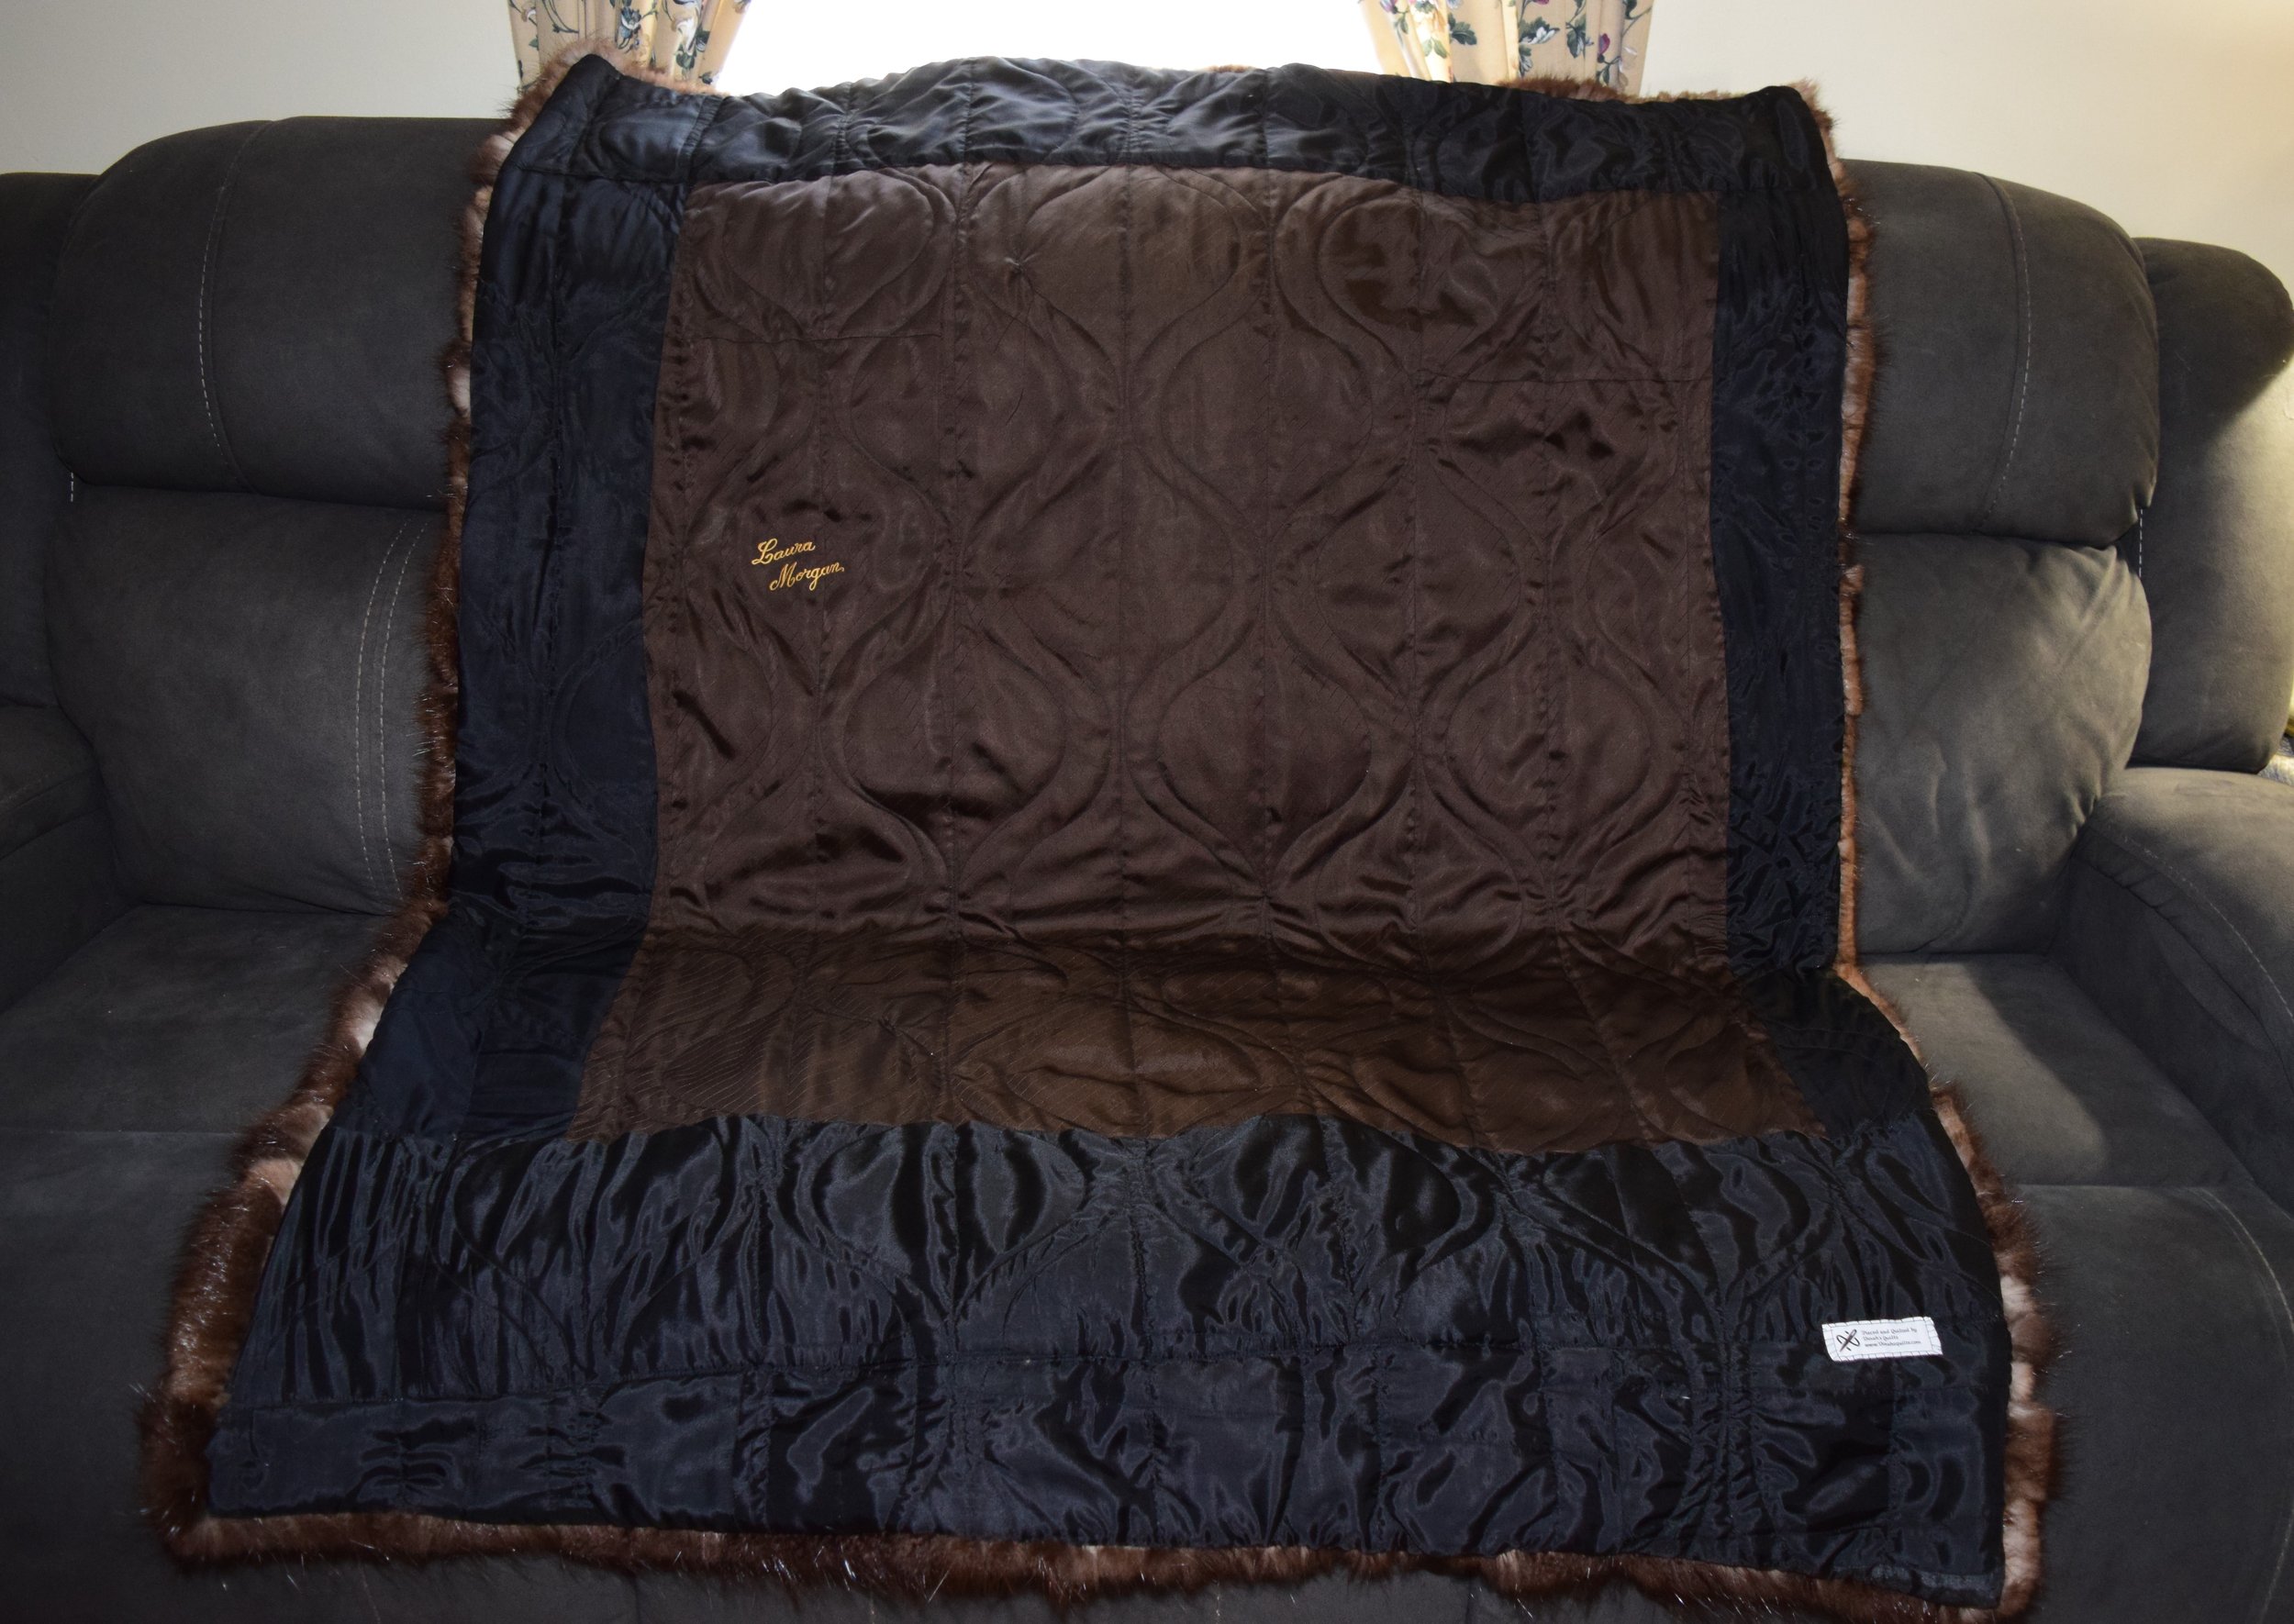
 The side borders were 3 inches each side. The sides had to be narrower because there wasn't enough leftover fur to have a wider side border. The top and bottom border were 5.5 inches wide. One of the mink shawls was a little damaged and dried out. It wouldn't be able to hold the stitches very well. The patchwork fox jacket also had some damage to it. One particular fur that was in that coat was dried out. So, I had to work around those sections. The blanket would measure 90 by 95. Just a little shy of a king size blanket that the customer wanted. It is very heavy and will be extremely warm!


Susan's Mink & Beaver Project

Watch the video here: Mink Jacket & Beaver Coat ~ Transformed to a Throw & Pillows

Fur: Mink, Beaver, Calf & Fox


The customer wanted to transform her Mink Jacket and her Beaver Coat into a throw and two pillows.

The Mink Jacket would make up the main throw, and the Beaver would be used as the border. The Mink Jacket was a short waisted jacket, so the amount of Mink that I had to work with was limited. The throw measures 47 by 48 inches.

The front of the two pillows were made from the Beaver Coat. They measure 16 by 16. I used the bottom Checkerboard Calf that was on the Beaver Coat as an accent to the zipper area of the pillows. The checkerboard Calf on the sleeves was too damaged to be used.  The Fox was not used in the final product and was returned to the customer.


Beautiful Beaver Coat Transformed into a Throw & Scarf

This Beaver coat was so beautiful and wonderful to work with. The Throw measured 47 by 50. I used a layer of batting as well as a layer of lightweight weft. That will help stabilize the throw, as it is heavy. With the left over fur we made a scarf with measures 10 by 70 inches. It can be used as a shawl or wrapped around like a scarf. I made two videos of the project. One focusing on the throw and part two on just the scarf.

You can see them here:

Part one: Making the Beaver Throw

Part two: Making the Scarf

Enjoy the process!

Mini Memory Bear

See Video here: Mini Memory Bear

Memory Bear made from three  T-Shirts

Customer wanted all the words that were printed on the gray shirt to be part of the bear.  The other two shirts where black and dark blue. I forgot to take the before photos (ugh).


It was a challenge as bear is Tiny.

The shirt read:

“World’s Greatest Farter Father”


The How: I used Pellon 911FF to stabilize the T-Shirt material.  I used Wonder Under on the gray shirt.

I carefully cut out the all the letters except World’s.   I wanted to keep that whole.   I ironed the letters to the pattern pieces. Used monofilament to tack the letters onto the bear as well.  The customer wanted the FARTER as the focal point.  Due to the size of the bear, that was almost impossible.  I had to separate the word.

Here is how I divided it up.

World’s- Tie

Greatest – Two letter on each arm and leg to spell out greatest.

Farter FART on the back &  ER on the front

Father -   Belly/Butt area


It was a fun project.

How to make a Mink Stole Pillow with a Pocket / Muff.

Watch the video here: How to Make a Fur Pillow with a Pocket/Muff

My customer wanted a pillow where she could take her hands and put it in the pillow and give it a hug. I scoured YouTube and the Internet for a pattern, but I didn't find one. I found regular pillows with a pocket for reading a book and I found an old-fashioned Muff, but I couldn't find anything that she wanted. So, here's a little mini tutorial on how I created this pillow.

The pillow is Constructed in the following order starting at the top and working down to the bottom

. • Fur

• Suede

• Batting

• 2nd layer of Fur

• 2nd layer of Suede

• Light interfacing (both sides)

Pillow measures 16 by 16.

Highlights are: • How to cut out the pocket/muff Using a pot lid as a template. • How to properly cut and mark leather and fur. • Using suede as a binding strip • How to sandwich all the layers together and some helpful tips along the way

Fur Stole & Suede Jacket Repurposed as Four Beautiful Pillows

I received a fur stole, two fur collars, and a suede jacket. The customer wanted as many pillows as possible from the garments that I had. One of her requests was to make a pillow with a pocket so she could slide her hands in and give the pillow a hug. Very similar to a fur muff. A more detailed video will be following on how to make a pillow with a fur muff/pocket.

Watch the video here: Fur Stole to Four Pillows

Tanuki Fur Transformed into a Lovely Throw

Loved this Coat!

This was a full length Tanuki Fur Coat. I loved working with this rich and lovely fur. I used the original lining and labels. Final Throw Size: 48 by 50

A tanuki's fur is thick and soft with long black guard hairs atop a medium-brown undercoat. They have a black-tipped bushy tail, and short, rounded ears. Tanuki's are often referred to as a "racoon dog", but they are not related to racoons.

See the video transformation here: Tanuki Fur to a Throw

My Most Difficult Fur Project

This fur was by far the most difficult one I have had to work with. The pelt was very dried out and cracking. See the process here: Most Difficult Fur Project

Dinah McCannComment