Journal

Posts in Fur
Mink Coat Transformed Into A Throw With A Lovely Chevron Pattern.

See the video here: Mink Coat Transformed Into A Throw With A Lovely Chevron Pattern.

This mink coat was unique, due to the Chevron pattern on the bottom of coat. The customer was given two choices on how the chevrons could be placed in her throw. She chose the triangular pieces to go in the corners of the throw. Her coat was in excellent shape and the mink was just lovely to work with. Overall size was 42 by 54.

Making a Queen/King Size Fur Blanket.

See the video here: Making a Queen/ King Fur Blanket

This had to be the most challenging fur project that I have done so far. It consisted of:

 ·   2 Full Length Fox Coats

·   1 Full Length White Mink Coat

·   3 Mink Shawls ~ 2 Tan Mink and 1 Silver Mink

·   1 Patchwork Fox Short Waisted Jacket

 I gave the customer a few different types of patterns to choose from. The first one was a patchwork blanket made of 12. 5 inch squares. The squares we're mixed in random order. The second blanket was also a patchwork blanket, but instead of random squares they were placed in a repeating order. The next pattern was a pattern made of 7 vertical strips with a patchwork like border.   The strips were 84 inches long. Ultimately this was the pattern that the customer chose.

 The repeat pattern is Brown Fox-White Mink- Silver Fox-Silver Mink- Silver Fox – White Mink – Brown Fox. All Strips were 12.5 by 84, except for the center panel, which was 8.5 by 84.  Just not enough Silver Mink  to make the 12.5 strip.

 The side borders were 3 inches each side. The sides had to be narrower because there wasn't enough leftover fur to have a wider side border. The top and bottom border were 5.5 inches wide. One of the mink shawls was a little damaged and dried out. It wouldn't be able to hold the stitches very well. The patchwork fox jacket also had some damage to it. One particular fur that was in that coat was dried out. So, I had to work around those sections. The blanket would measure 90 by 95. Just a little shy of a king size blanket that the customer wanted. It is very heavy and will be extremely warm!


Susan's Mink & Beaver Project

Watch the video here: Mink Jacket & Beaver Coat ~ Transformed to a Throw & Pillows

Fur: Mink, Beaver, Calf & Fox


The customer wanted to transform her Mink Jacket and her Beaver Coat into a throw and two pillows.

The Mink Jacket would make up the main throw, and the Beaver would be used as the border. The Mink Jacket was a short waisted jacket, so the amount of Mink that I had to work with was limited. The throw measures 47 by 48 inches.

The front of the two pillows were made from the Beaver Coat. They measure 16 by 16. I used the bottom Checkerboard Calf that was on the Beaver Coat as an accent to the zipper area of the pillows. The checkerboard Calf on the sleeves was too damaged to be used.  The Fox was not used in the final product and was returned to the customer.


Beautiful Beaver Coat Transformed into a Throw & Scarf

This Beaver coat was so beautiful and wonderful to work with. The Throw measured 47 by 50. I used a layer of batting as well as a layer of lightweight weft. That will help stabilize the throw, as it is heavy. With the left over fur we made a scarf with measures 10 by 70 inches. It can be used as a shawl or wrapped around like a scarf. I made two videos of the project. One focusing on the throw and part two on just the scarf.

You can see them here:

Part one: Making the Beaver Throw

Part two: Making the Scarf

Enjoy the process!

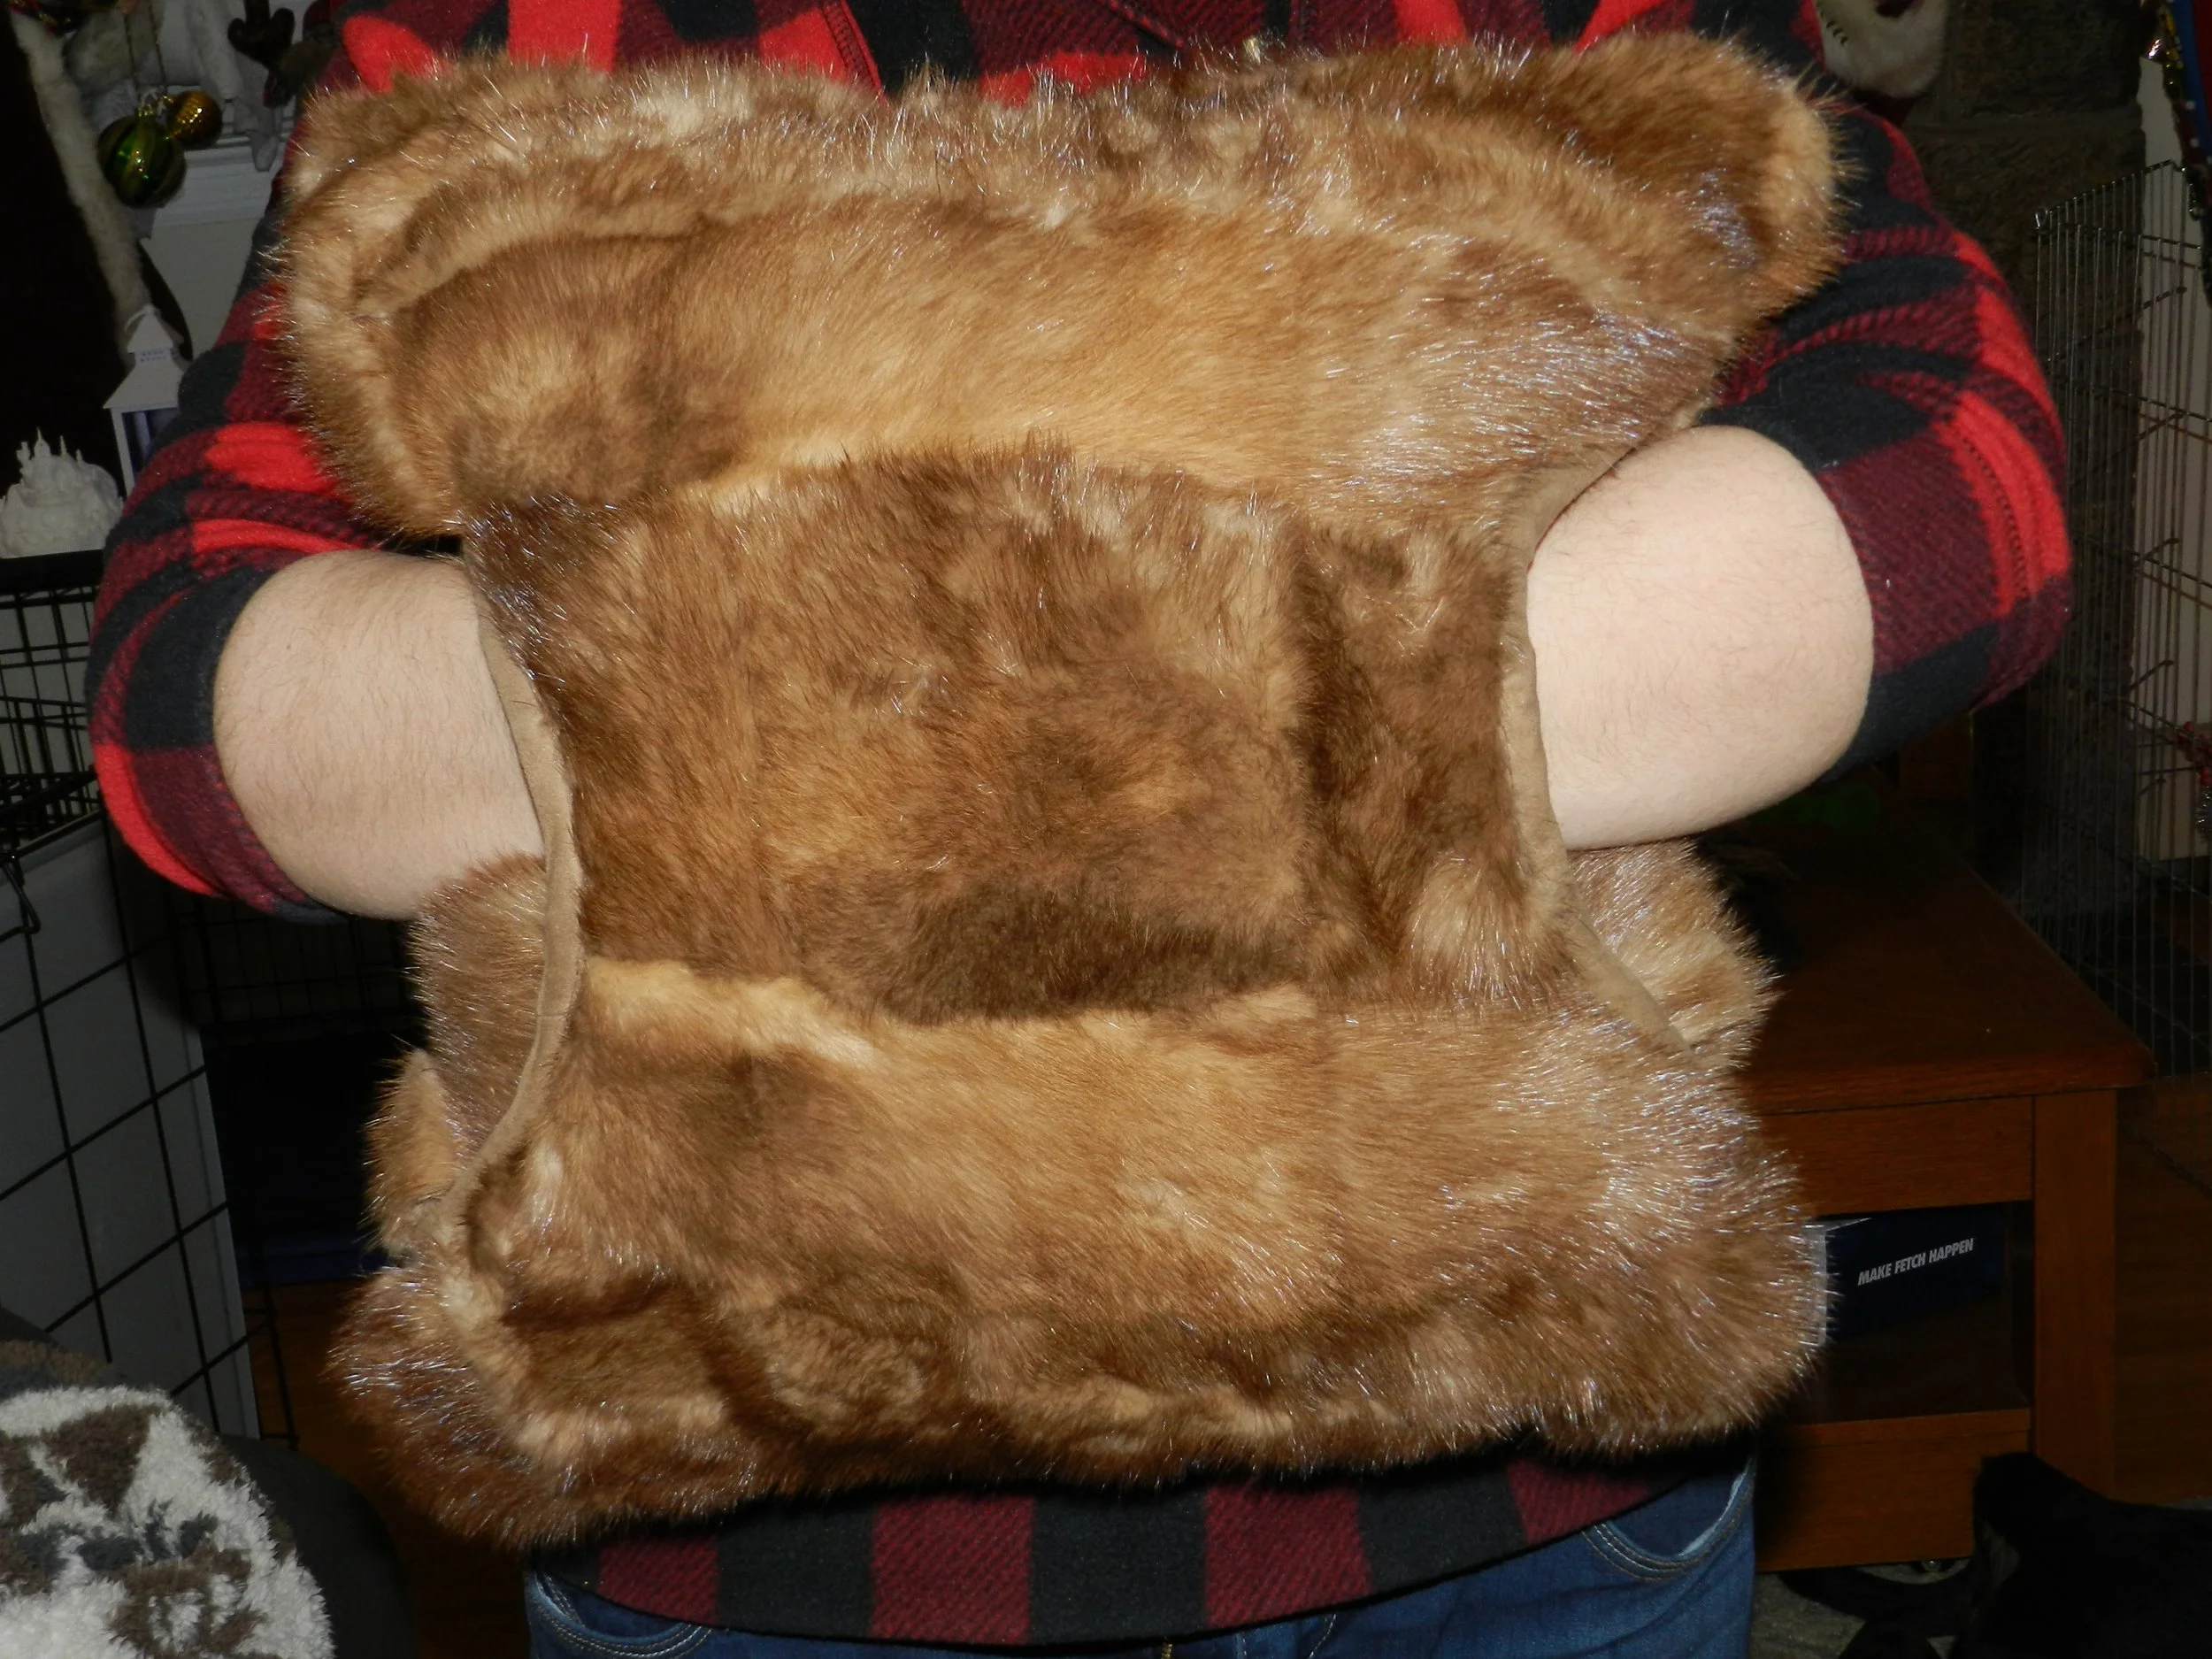
How to make a Mink Stole Pillow with a Pocket / Muff.

Watch the video here: How to Make a Fur Pillow with a Pocket/Muff

My customer wanted a pillow where she could take her hands and put it in the pillow and give it a hug. I scoured YouTube and the Internet for a pattern, but I didn't find one. I found regular pillows with a pocket for reading a book and I found an old-fashioned Muff, but I couldn't find anything that she wanted. So, here's a little mini tutorial on how I created this pillow.

The pillow is Constructed in the following order starting at the top and working down to the bottom

. • Fur

• Suede

• Batting

• 2nd layer of Fur

• 2nd layer of Suede

• Light interfacing (both sides)

Pillow measures 16 by 16.

Highlights are: • How to cut out the pocket/muff Using a pot lid as a template. • How to properly cut and mark leather and fur. • Using suede as a binding strip • How to sandwich all the layers together and some helpful tips along the way

Fur Stole & Suede Jacket Repurposed as Four Beautiful Pillows

I received a fur stole, two fur collars, and a suede jacket. The customer wanted as many pillows as possible from the garments that I had. One of her requests was to make a pillow with a pocket so she could slide her hands in and give the pillow a hug. Very similar to a fur muff. A more detailed video will be following on how to make a pillow with a fur muff/pocket.

Watch the video here: Fur Stole to Four Pillows

Tanuki Fur Transformed into a Lovely Throw

Loved this Coat!

This was a full length Tanuki Fur Coat. I loved working with this rich and lovely fur. I used the original lining and labels. Final Throw Size: 48 by 50

A tanuki's fur is thick and soft with long black guard hairs atop a medium-brown undercoat. They have a black-tipped bushy tail, and short, rounded ears. Tanuki's are often referred to as a "racoon dog", but they are not related to racoons.

See the video transformation here: Tanuki Fur to a Throw